The integration of Salesloft with Ringover allows you to:
- Click to call (Third Party Dialer)
- Contact synchronization
- Contact creation
- Call & SMS logging
- Notes & tags synchronization
- Contact popup display
- Cadence progress synchronization
- CRM fields displayed in the Dialer
- You must have a Ringover Business or Advanced account to benefit from this integration 💳
- The integration must be carried out by an administrator or technical account in Ringover 👨💼
- The integration must be done with a Salesloft administrator account
Step 1: Activation
- 🖥️ Go to your Dashboard> Store> Integration and click on "Salesloft".
Step 2: Configuration in Ringover
By default, the integration will be enabled for all agents whose email addresses are identical in Ringover and Salesloft.
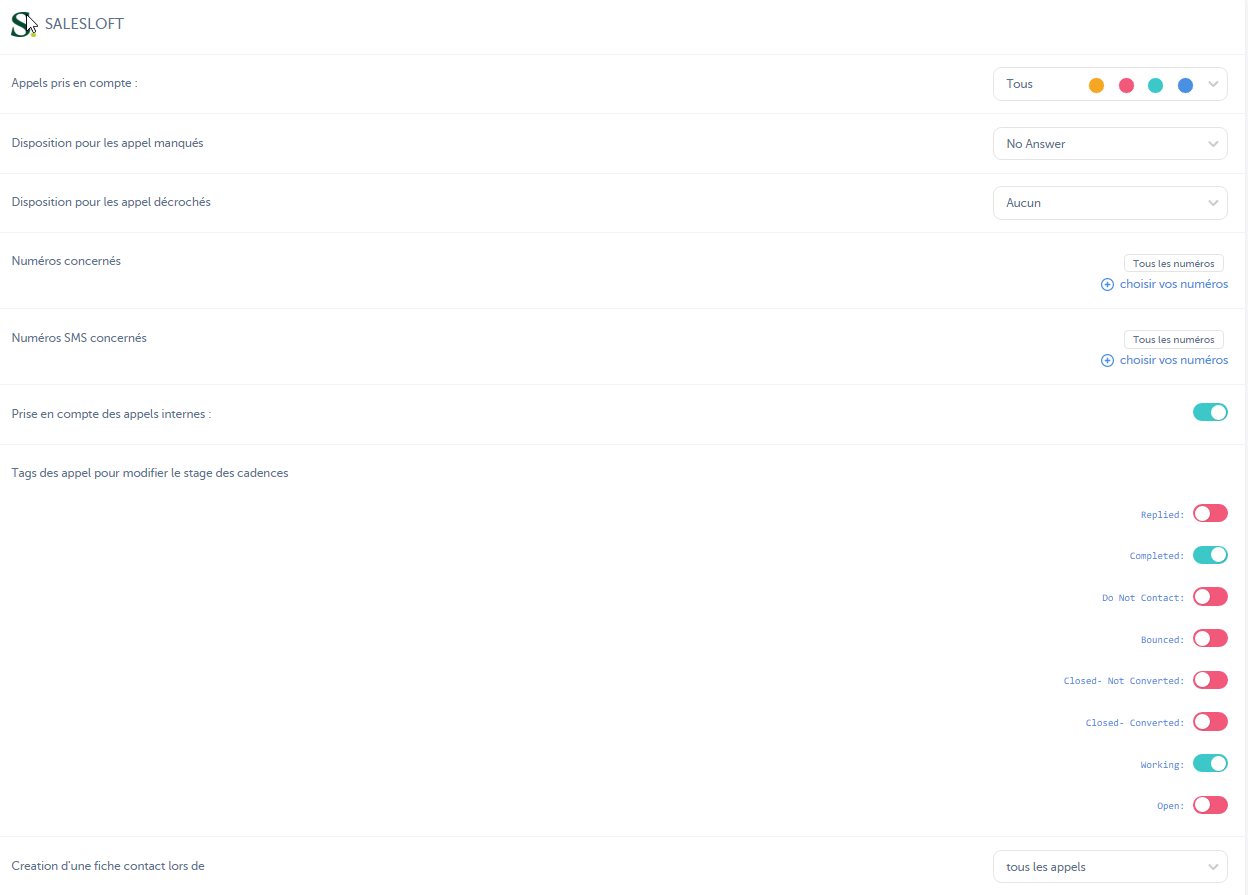
Configure the integration behavior according to your needs through the settings, to do this:
- Go back to Dashboard> Store> Integration and click on "Salesloft":

If you check tags here, you will need to create the tags with the same names in your Ringover dashboard:

For more information on configuration, see our dedicated section "How to configure your tool?"
Step 3: Configuration in Salesloft
To enable click2call, please ask your Salesloft CSM to activate the "Voice Links" feature https://help.salesloft.com/s/article/Voice-Links-Calling-Using-Third-Party-Dialers
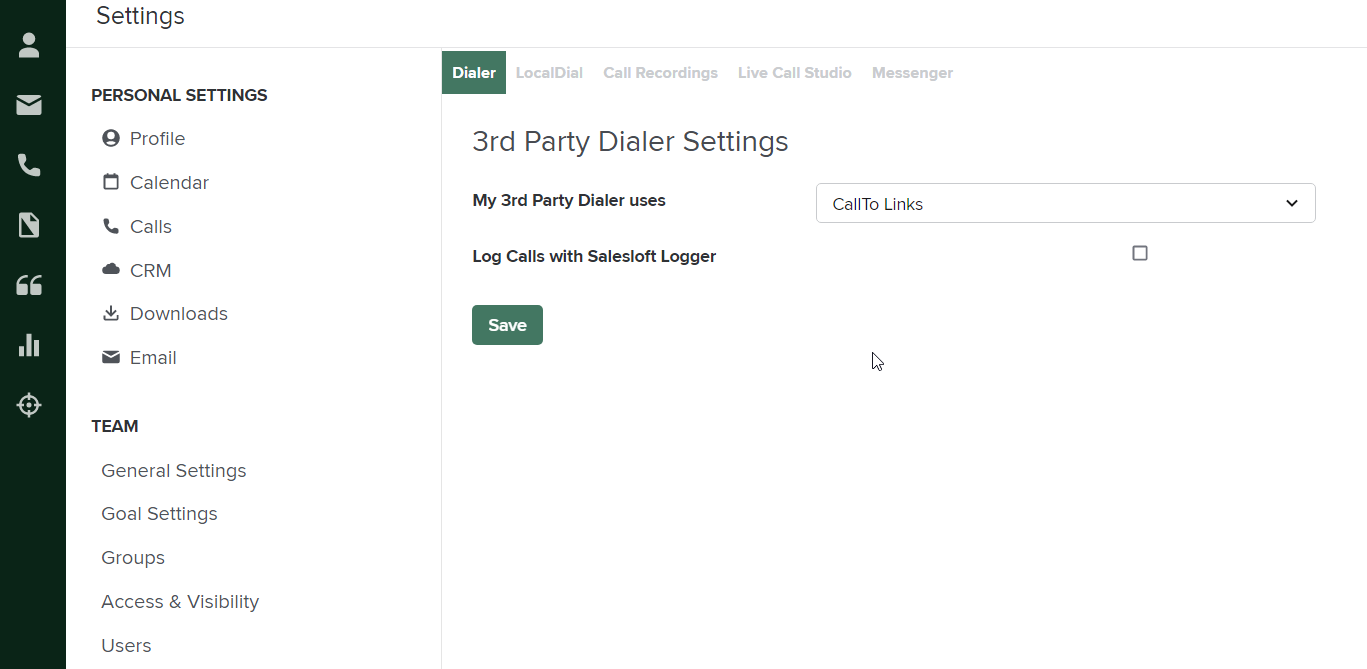
For Click-to-call to work properly, please ensure you have installed the Ringover Chrome extension. Then go to the Salesloft Settings > Dialer menu and configure as shown below:

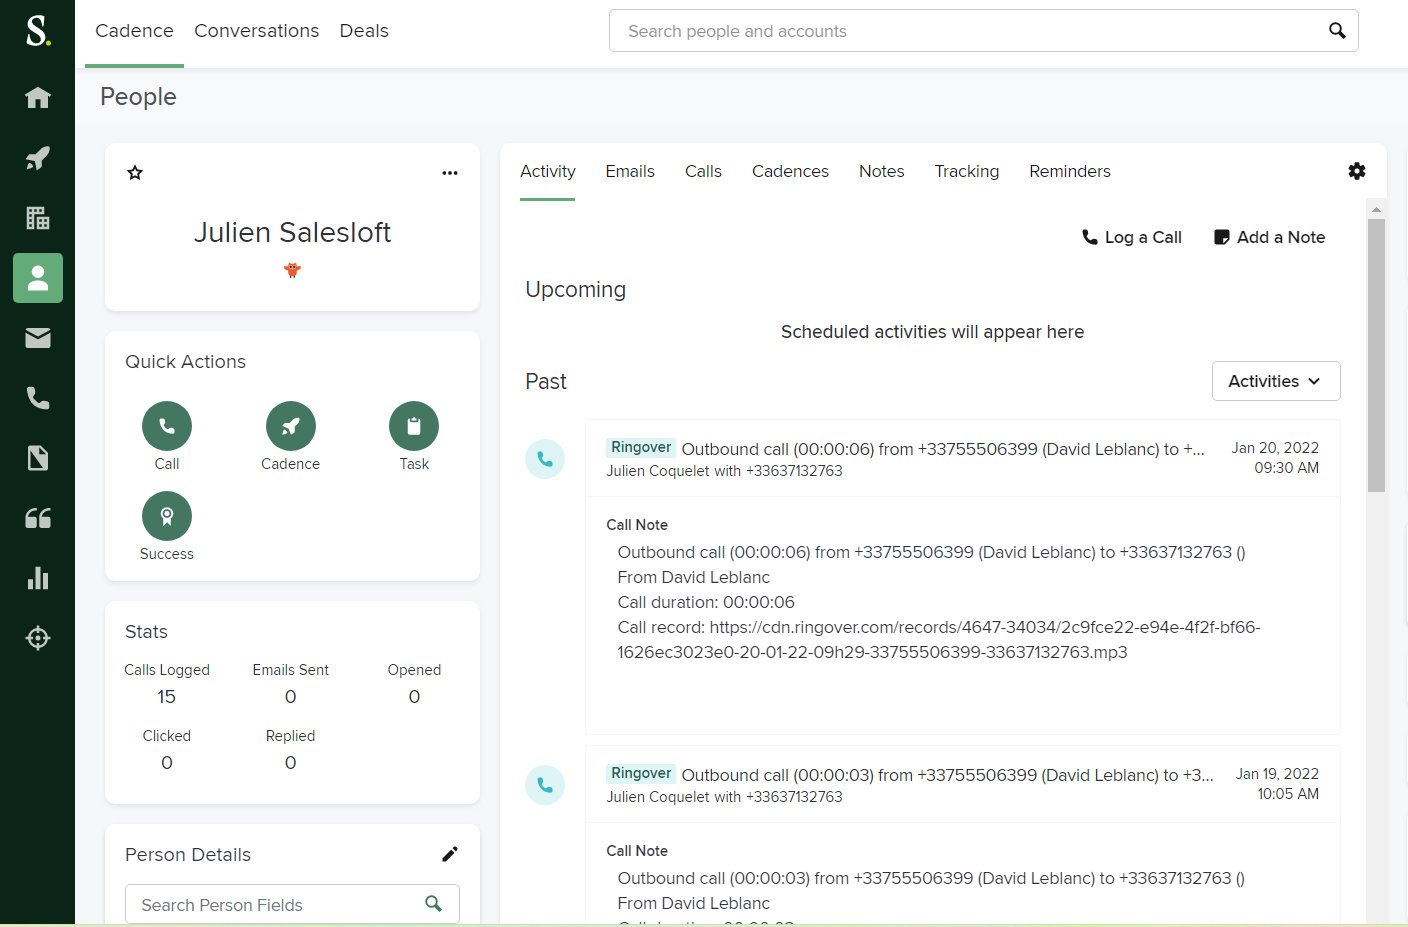
The integration is now complete. You will now find your call logs, SMS, recordings and voicemails as activities in your Salesloft contact records! 🎉
