Prerequisites:
- You must have a Ringover Business or Advanced account to benefit from this integration 💳
- The integration must be performed by an administrator or technical account in Ringover 👨💼
- You must have administrator privileges in Microsoft Dynamics.
Activation in Ringover
💻 Go to Dashboard>Store>Integration.
- Search for "Microsoft Dynamics" and click on "Activate",
- Then enter your Dynamics URL.
Installation
Go to Dynamics 365 Channel Integration Framework.
- Click "Get it now".
- Click "Get it now" again.
- Select your environment and agree to the terms, then click "Install".
- A few minutes later, the Channel Integration Framework should be installed.
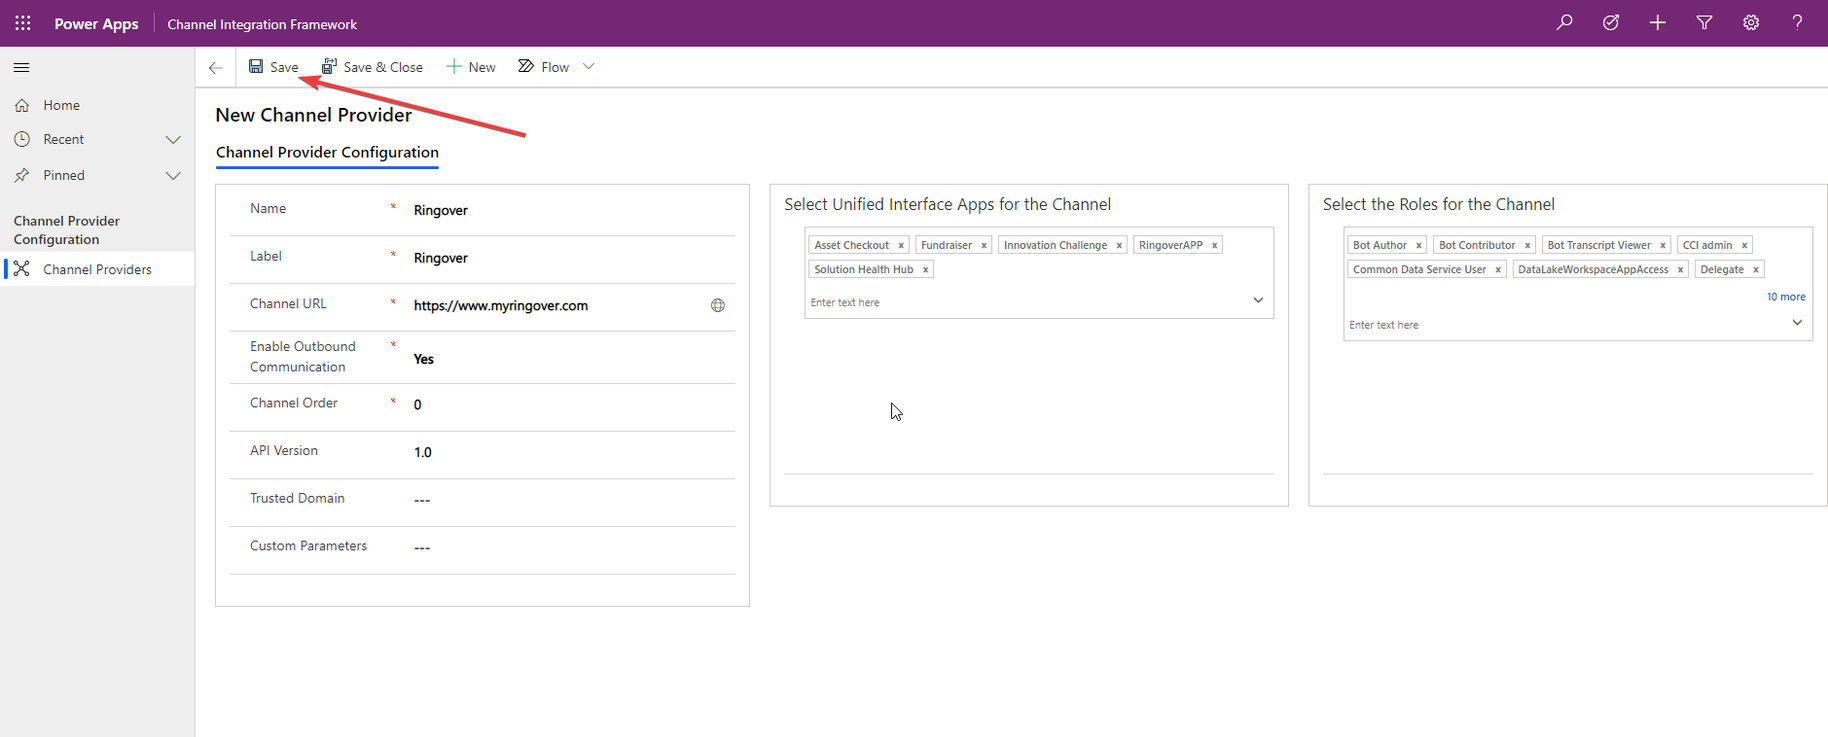
Configure Channel Integration Framework
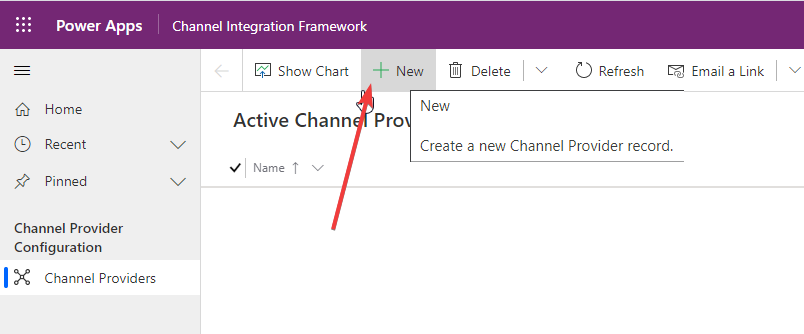
Open the “Channel Integration Framework” application.
- Click on “New”,
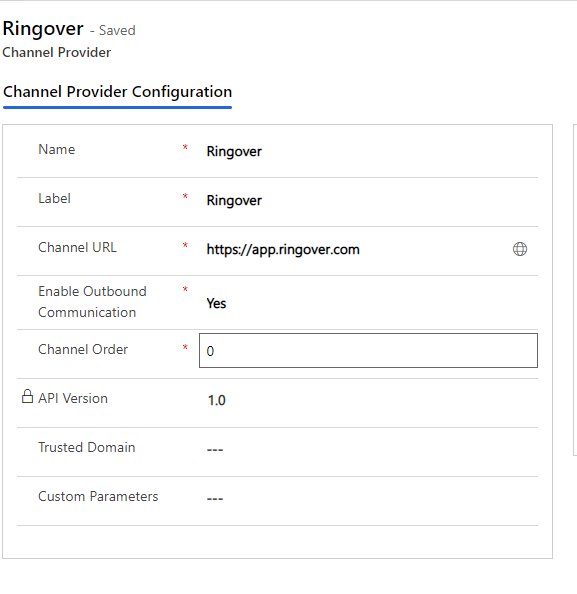
- Configure as follows,
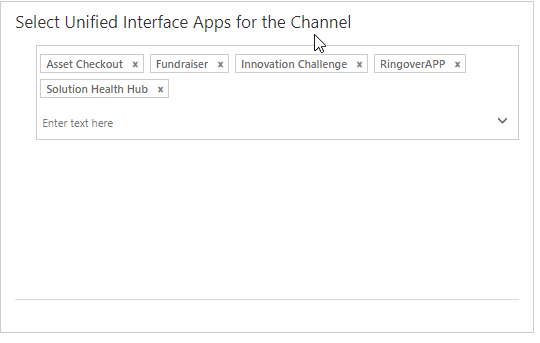
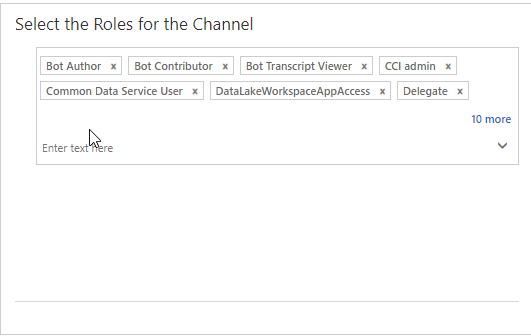
- Make sure to select the apps and roles that will have access to the Ringover dialer,
- Click "Save".
- Now, the Ringover dialer appears on the right side of the screen.
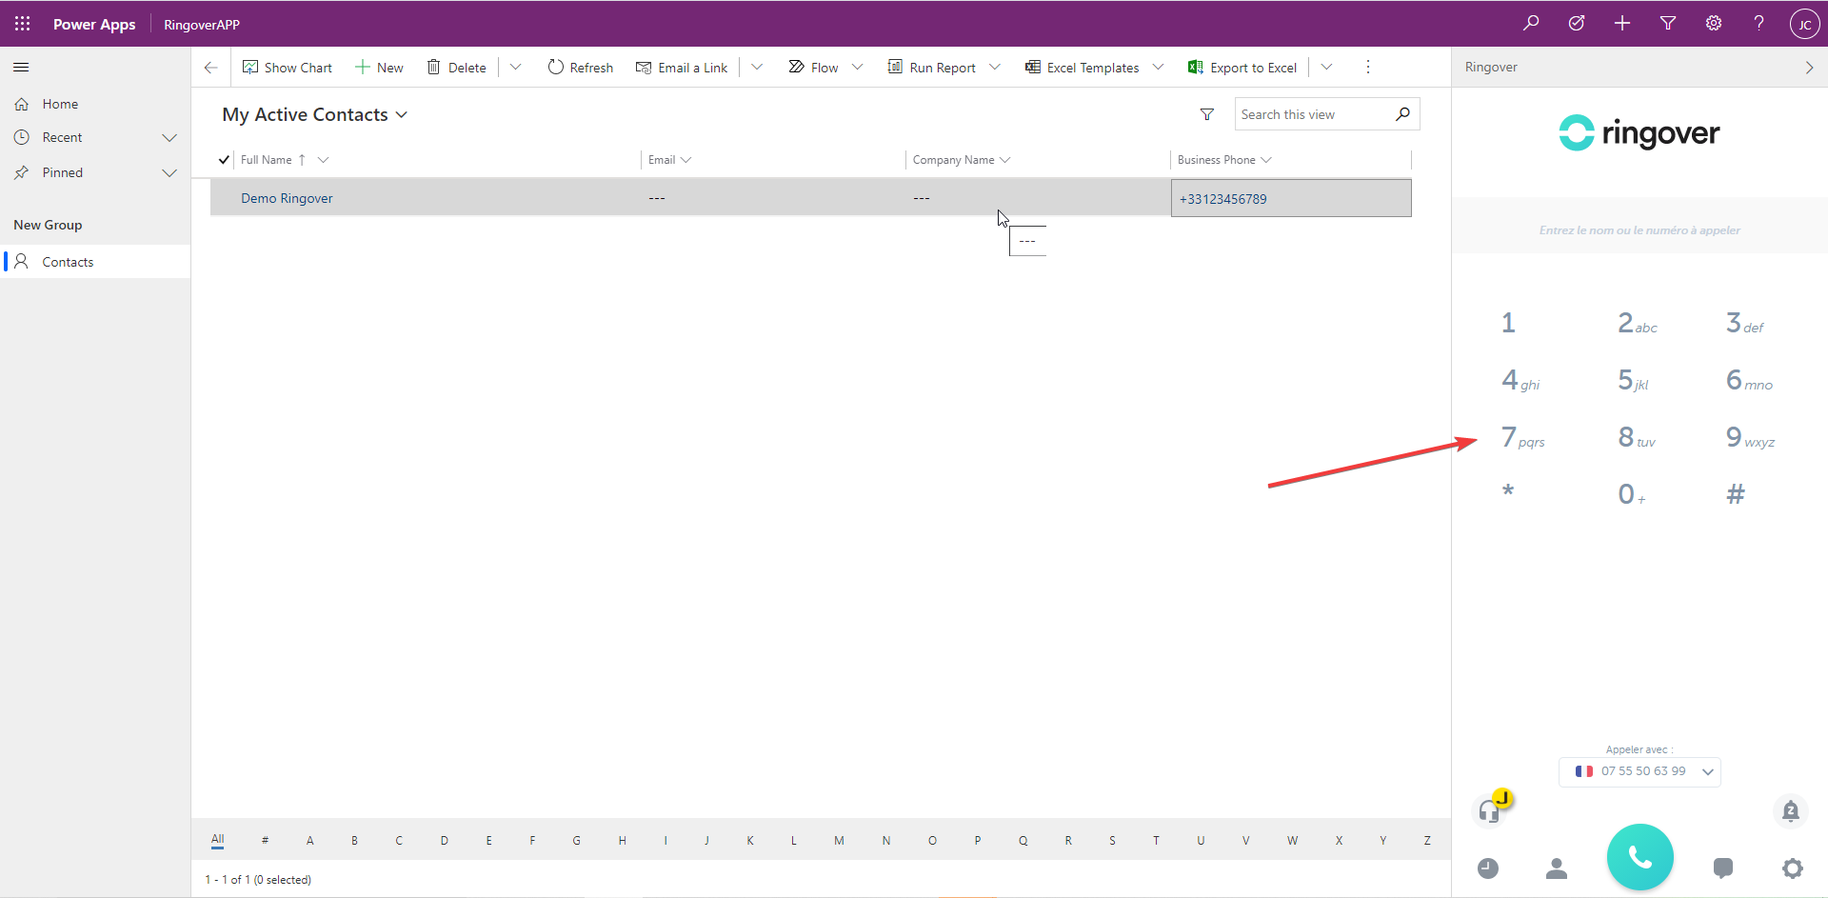
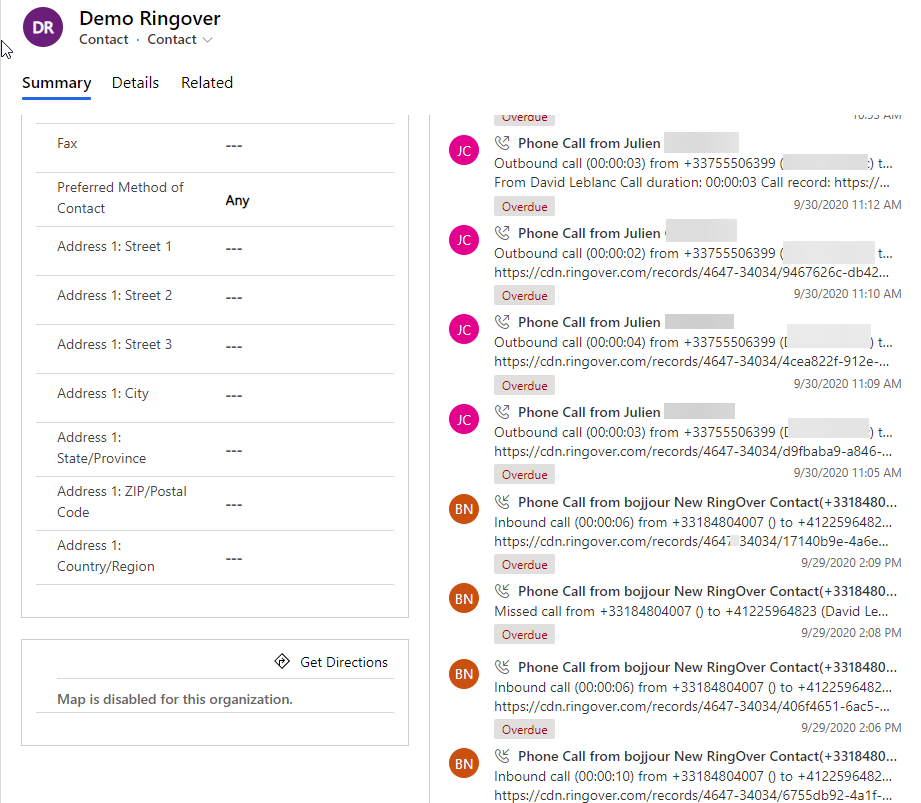
- You can make/receive your calls from this dialer. Your calls will be automatically logged in the contact records.
Configure Click2Call
- Go to “Settings >> Administration” and then "System Settings".
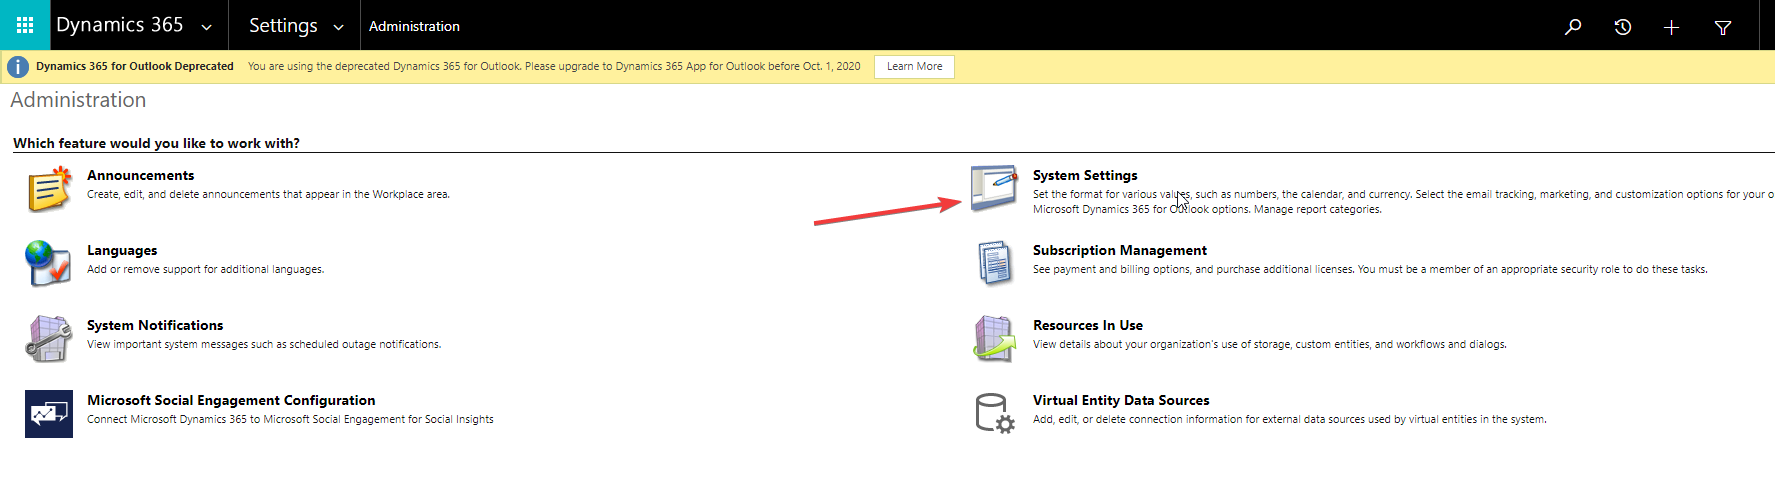
- In the General tab, choose "Skype for Business/Link" instead of "Skype".
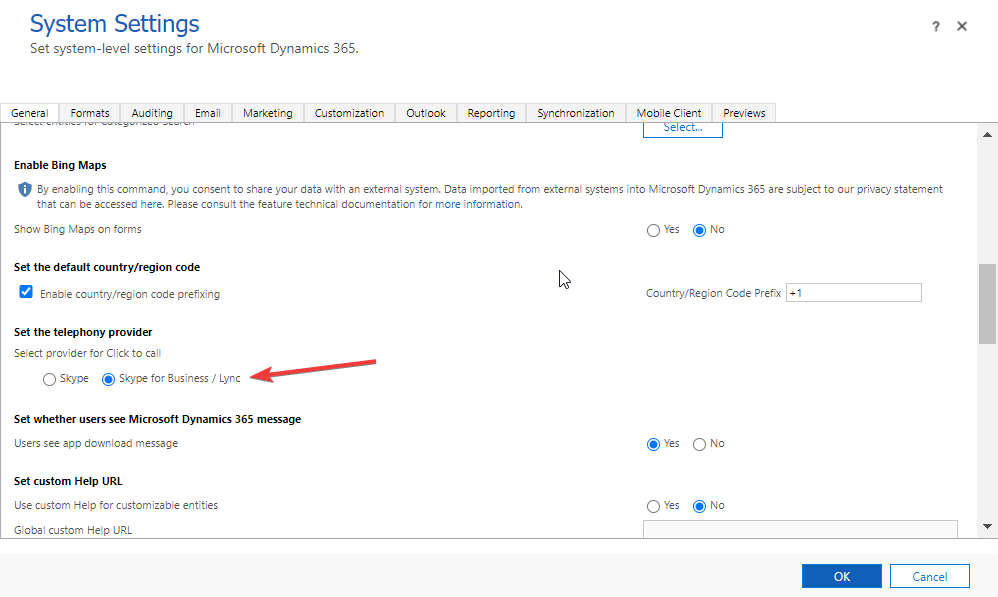
That’s it, the integration is complete! 🎉