Prerequisites:
- You must have a Ringover Business or Advanced account to benefit from this integration 💳
- The integration must be performed by an administrative or technical account in Ringover 👨💼
Step 1: Configuration in Ringover
💻 Head to the “Developments” section in your Ringover dashboard, then click on
“Generate an API key” 🔑 :
Next, indicate who will receive this API key and its name:
Your API key is now generated 😃
You can personalize the access rights to suit your requirements:
Step 2: Installing the Ringover application
Next, you’ll need to install the extra Google Workspace module for Ringover. To do this, head to Google Workspace Marketplace then enter "Ringover” in the search bar. Select the Ringover application, then click “Install:
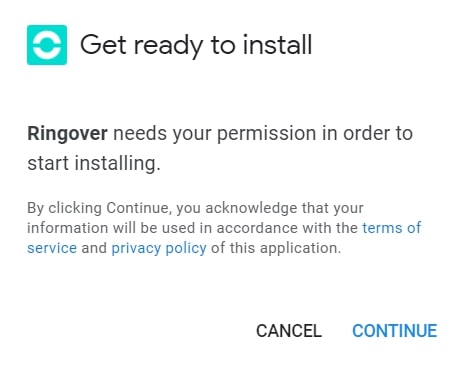
A window will open, asking you to authorize Ringover to begin the installation. Click on “Continue”:

Then, sign in to your Google account and click “Authorize”.
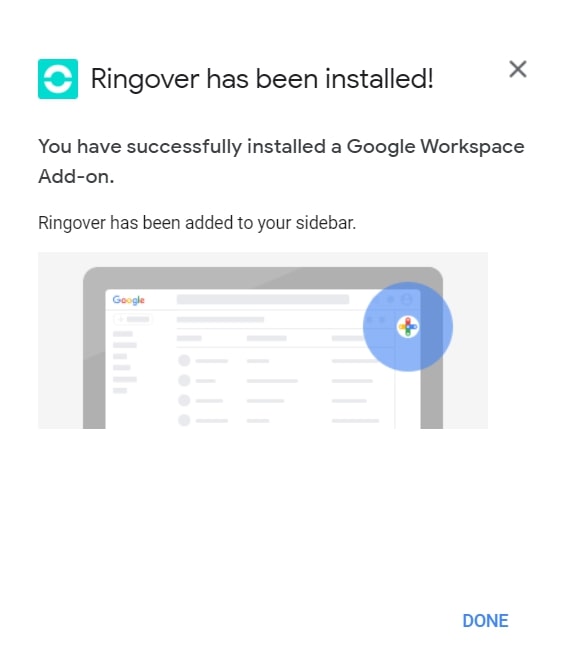
The application is now installed! 😃

Step 3: Set-up in Google Workspace
To get the extra module up and running, you’ll now need to set it up.
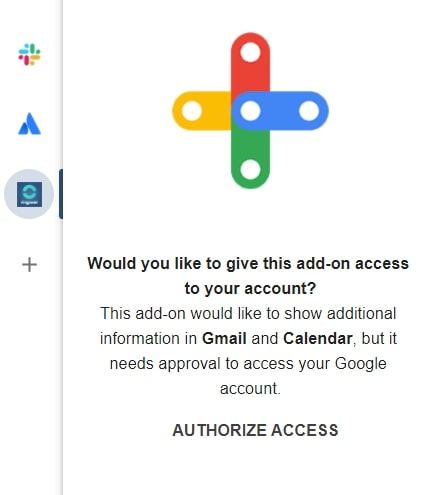
Head to your Gmail account. Click on Ringover in the extra module sidebar, and then on “Authorize access”:

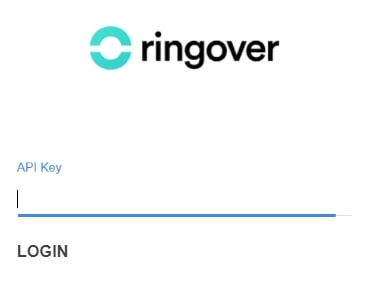
Sign back in to your Google account and click “Authorize”. Copy the API key 🔑 that you generated in the first step, then click on “Login”:

There you go, your integration is all sorted. You can now easily access Ringover from your Google Workspace to call, send SMS messages, view your communication history, and schedule video conferences with total transparency! 🎉