With the integration of Ringover into Clientify, you will be able to:
- Create your contacts directly
- Call recording
- Recorded calls placement: Contact Timeline
- Know exactly who is calling you and quickly access their information thanks to our contact synchronization feature.
- No need to copy and paste numbers into a dialer thanks to the Ringover Click2Call feature
Find our integrated Ringover dialer 💁 - Open your contact records by clicking on the CRM icon in the integrated Ringover dialer.
Now let's move on to the tool integration 📳
Prerequisites:
You must have a Ringover Business or Advanced account to benefit from this integration 💳
The integration must be carried out by an administrator or technical account in Ringover 👨💼
The integration must be done with a Clientify administrator account
Step 1: Configuration in Ringover
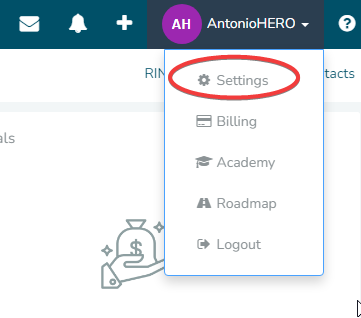
Go to the "Settings" menu in Clientify,
Then to "Integrations",
And paste the API key generated from your Ringover Dashboard. Then copy the webhook URL and finally click "Send".
Paste the webhook URL into the Webhook menu of your Ringover dashboard in the fields "Ringing Calls", "Hung up Calls", "Hung up Calls" and "Missed Calls". As well as in the "URL" field of the Contact Call webhook.
Important configuration note: When setting up the Ringover webhook for Clientify integration, make sure to select the 'After-Call Work' section instead of 'Fax Received' in the webhook configuration. Also, verify that the webhook URL is correctly entered and matches the required parameters for the Clientify integration.
And that's it, the integration is complete! 🎉