By integrating Ringover into Office365, you’ll be able to:
Prerequisite:
- Know exactly who you’re calling and quickly access their information thanks to our contact syncing feature.
Now, let’s move on to integrating the tool 📳
How to install the integration?
Prerequisite:
- You’ll need a Ringover Power account in order to benefit from this integration.
- The integration needs to be installed by a Ringover administrator account
- The integration needs to be installed by an Office365 administrator account.
Activation
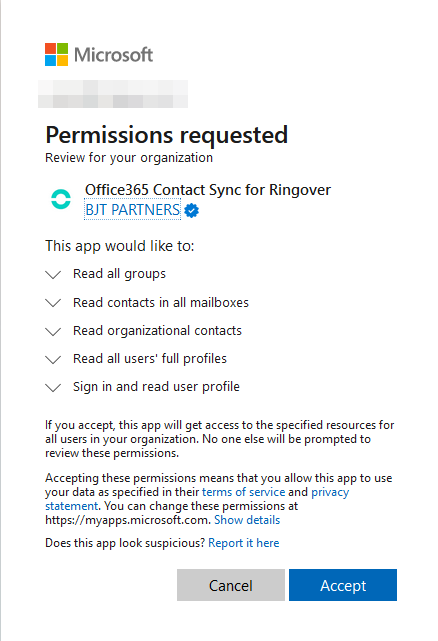
- 💻 From your Dashboard, go to the Integrations section, click on “Activate” opposite “Office 365” and authorize the permissions

Configuration in Ringover
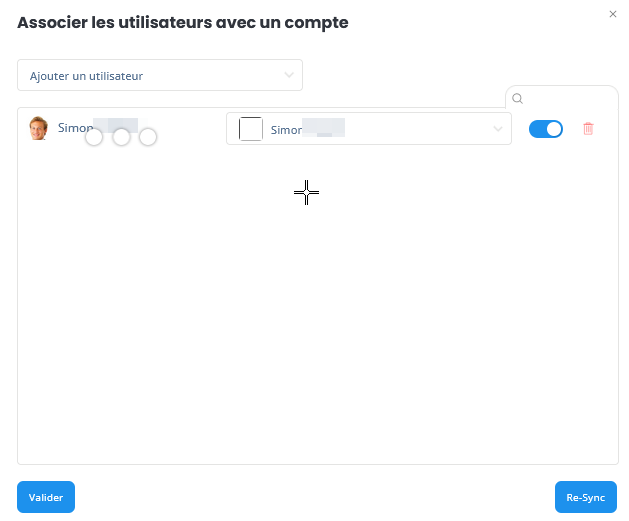
- Still in your Dashboard, in the Integrations section, click on “Configure” opposite “Office 365”, then click on “Manage users” and activate the integration for the desired users.
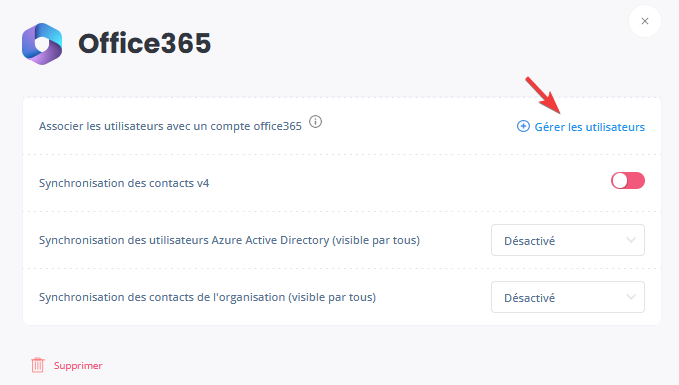
- Next, tick the “Contact syncing” option, which will sync any private contacts synced previously by users.

- You can also sync Azure user data,
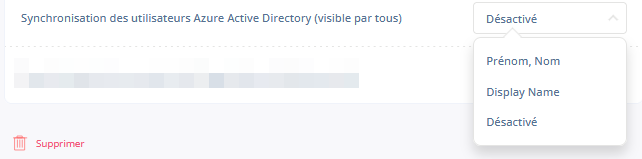
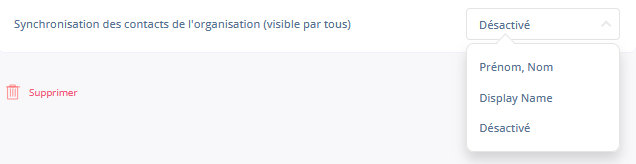
- and any public contacts (visible to all), created on the Exchange organisation level