Microsoft Dynamics Onboarding
Topics covered:
- About.
- Getting started with the onboarding process.
Prerequisites: A CRM account should be created.
About:
This documentation includes the detailed onboarding process for dynamics.
Getting started with the onboarding process:
- Log in to your Cadence account and select your email provider. Click Continue.

2. After that, you will be directed to the product tour page. Click on Start Product Demo.

3. To have a look at your first cadence, click on Next.

4. Now a sample cadence will appear on your screen. To get a better idea of how cadences work, click on Next.
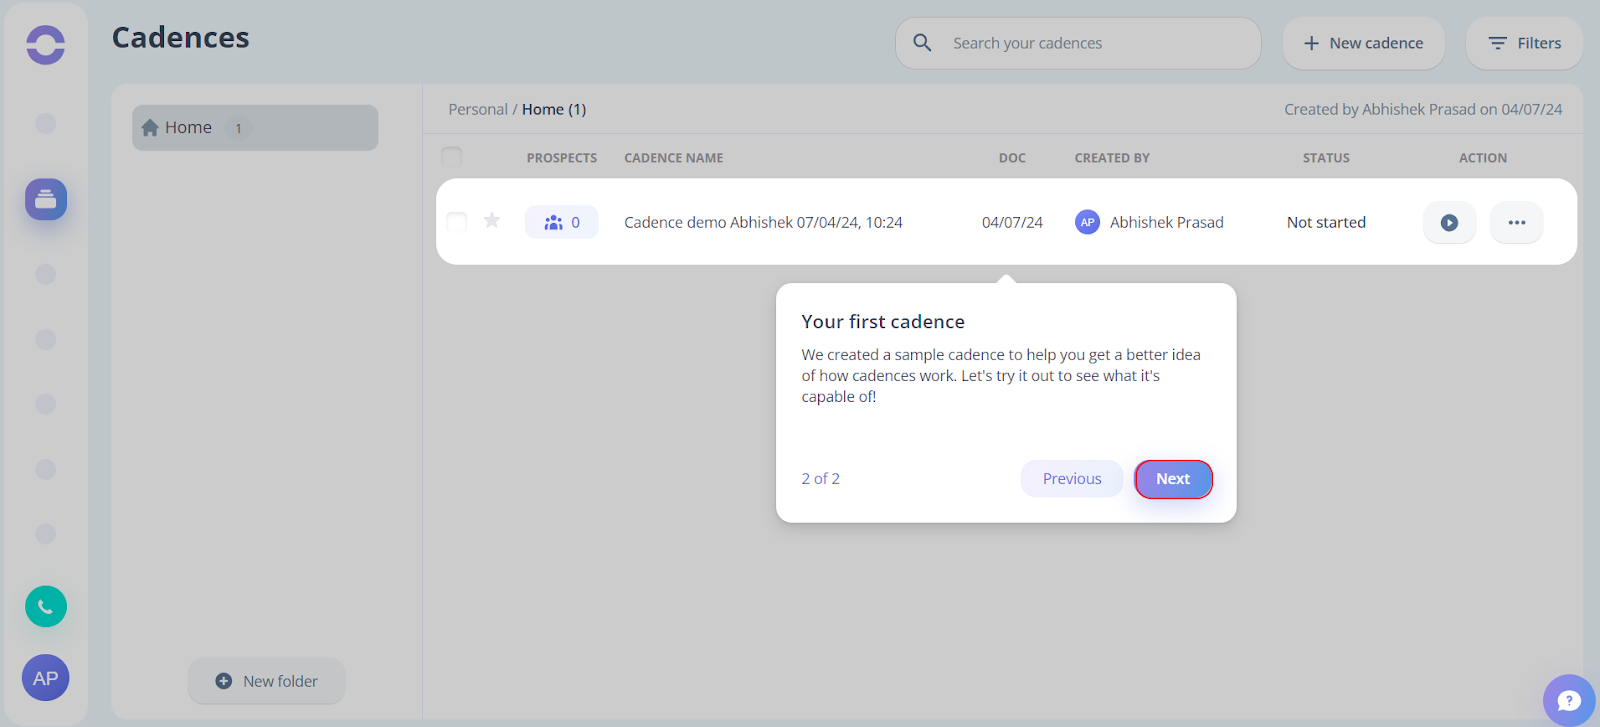
5. Now click on the cadence to check out your first cadence.

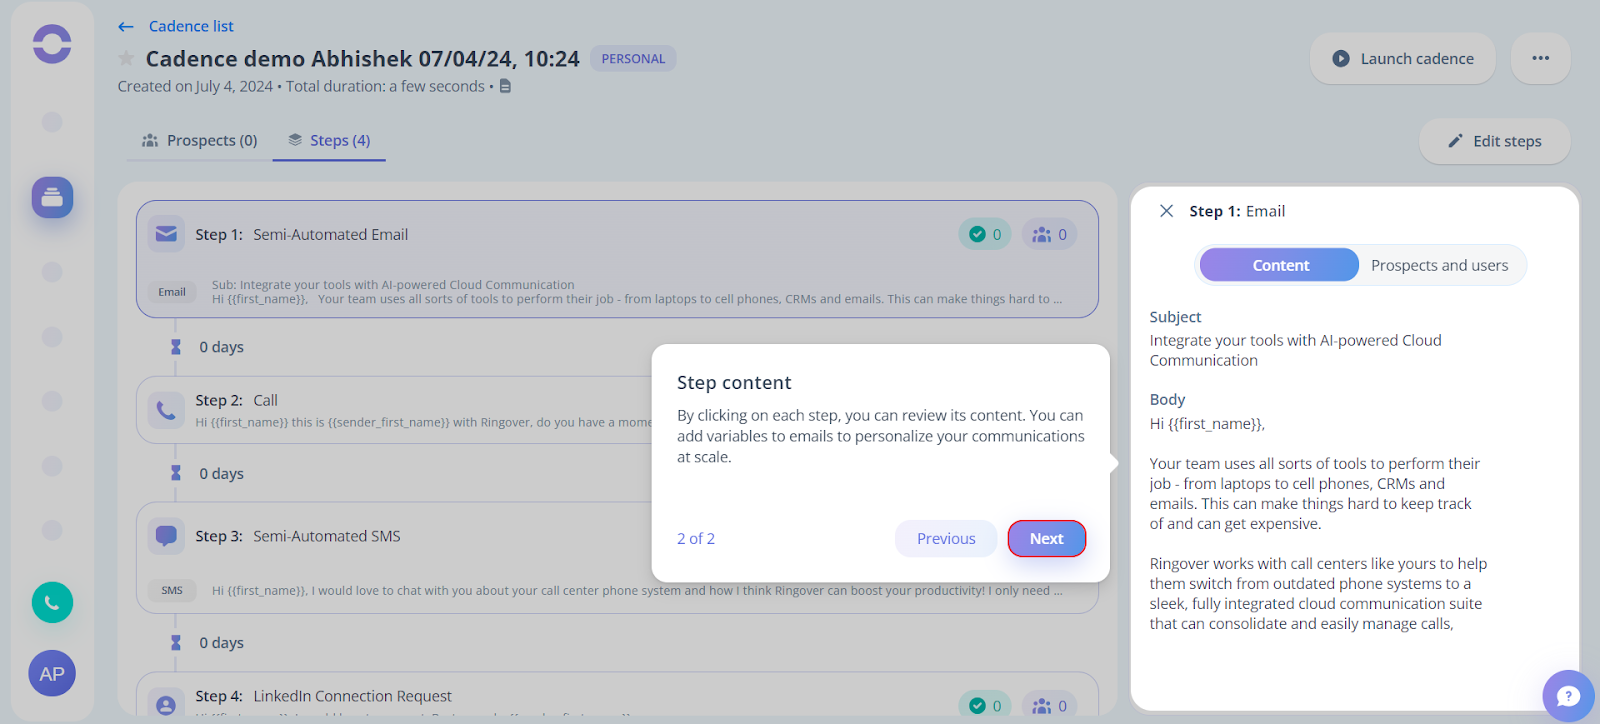
6. After that to set up your cadence steps, click Next on the right-hand side of your screen.

7. By clicking on each step of your cadence, you can review its content. To move forward, click Next.
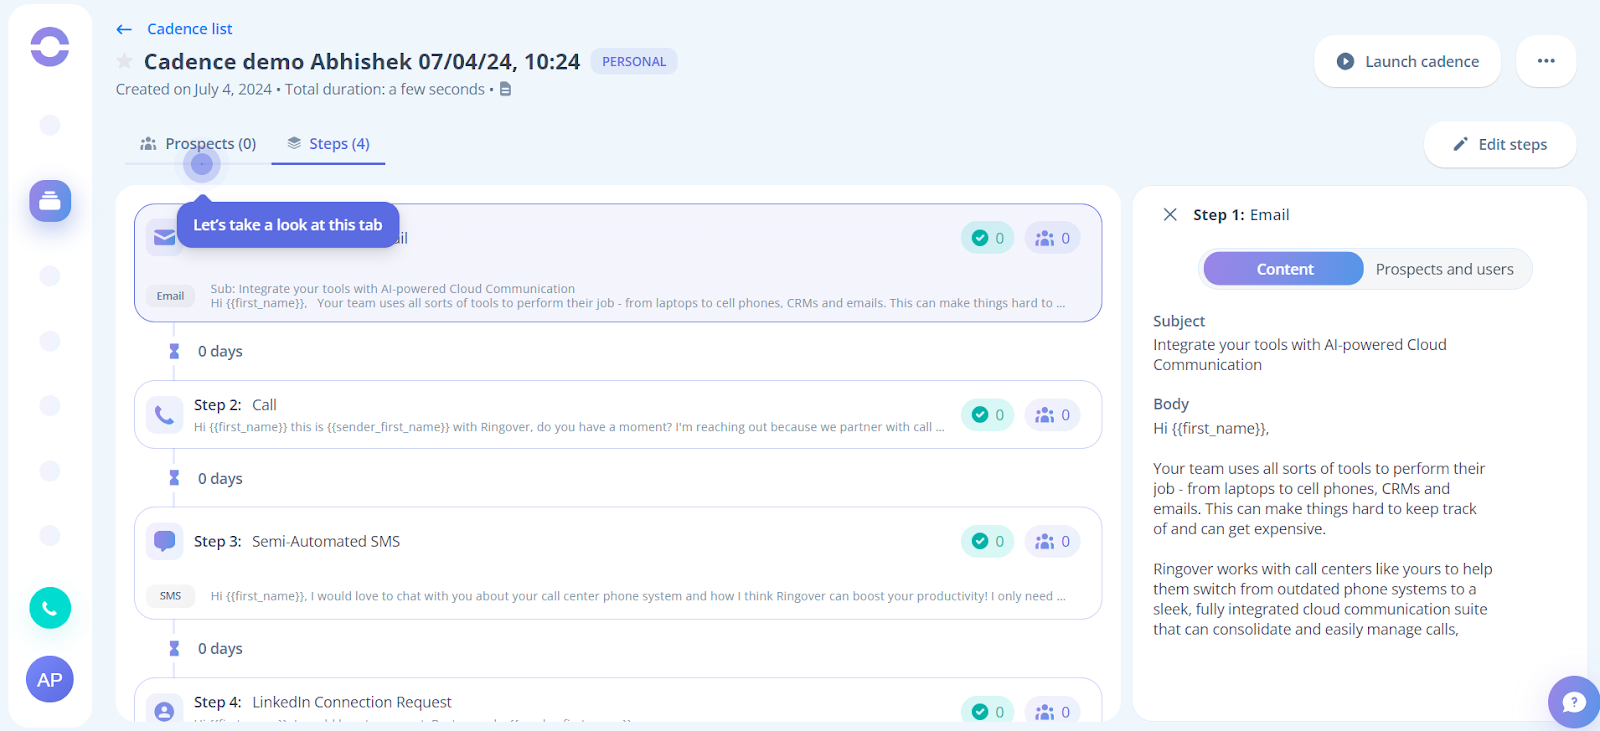
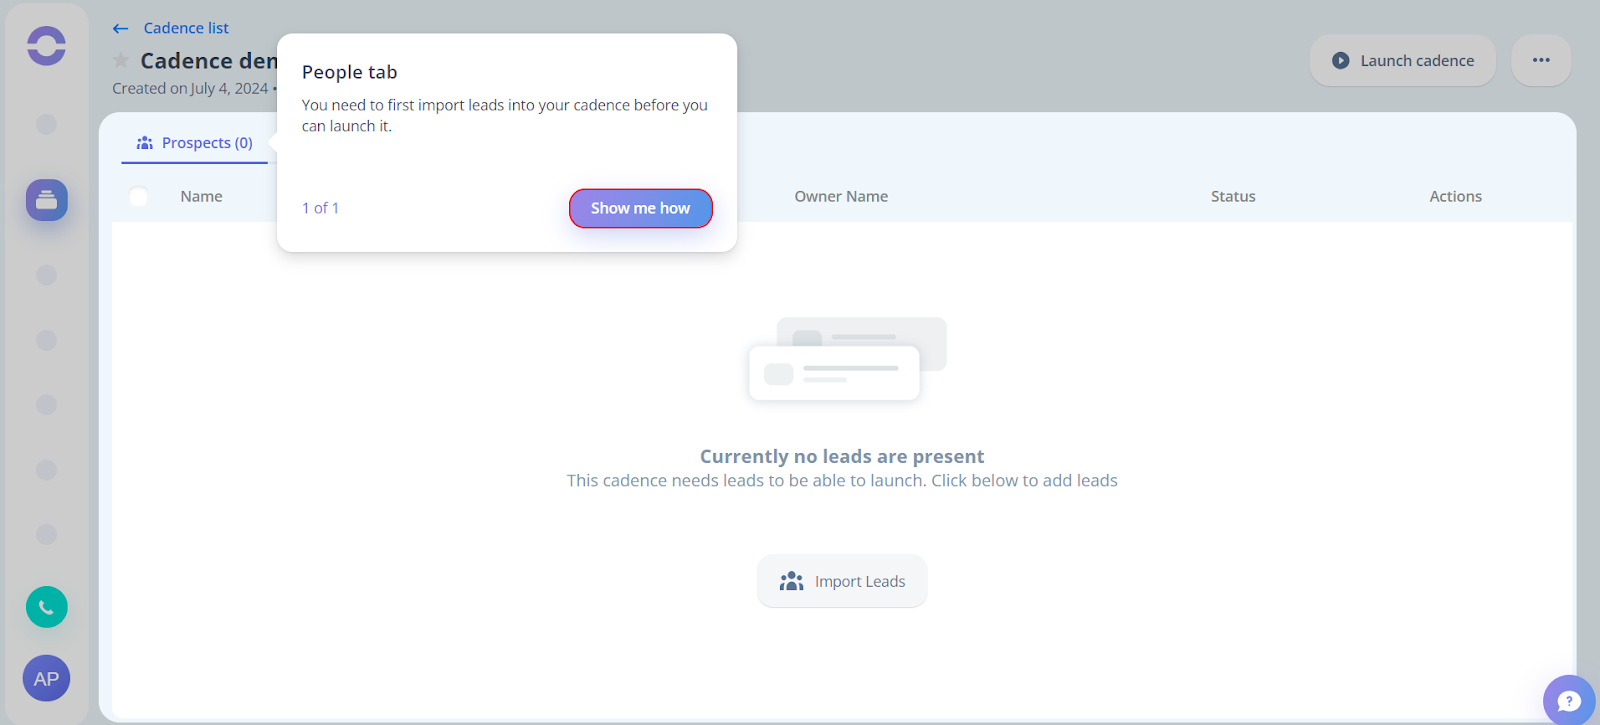
8. To import prospects, click on the Prospect tab.
9. Before launching your cadence, you must import leads into it.
Click on Show me how.
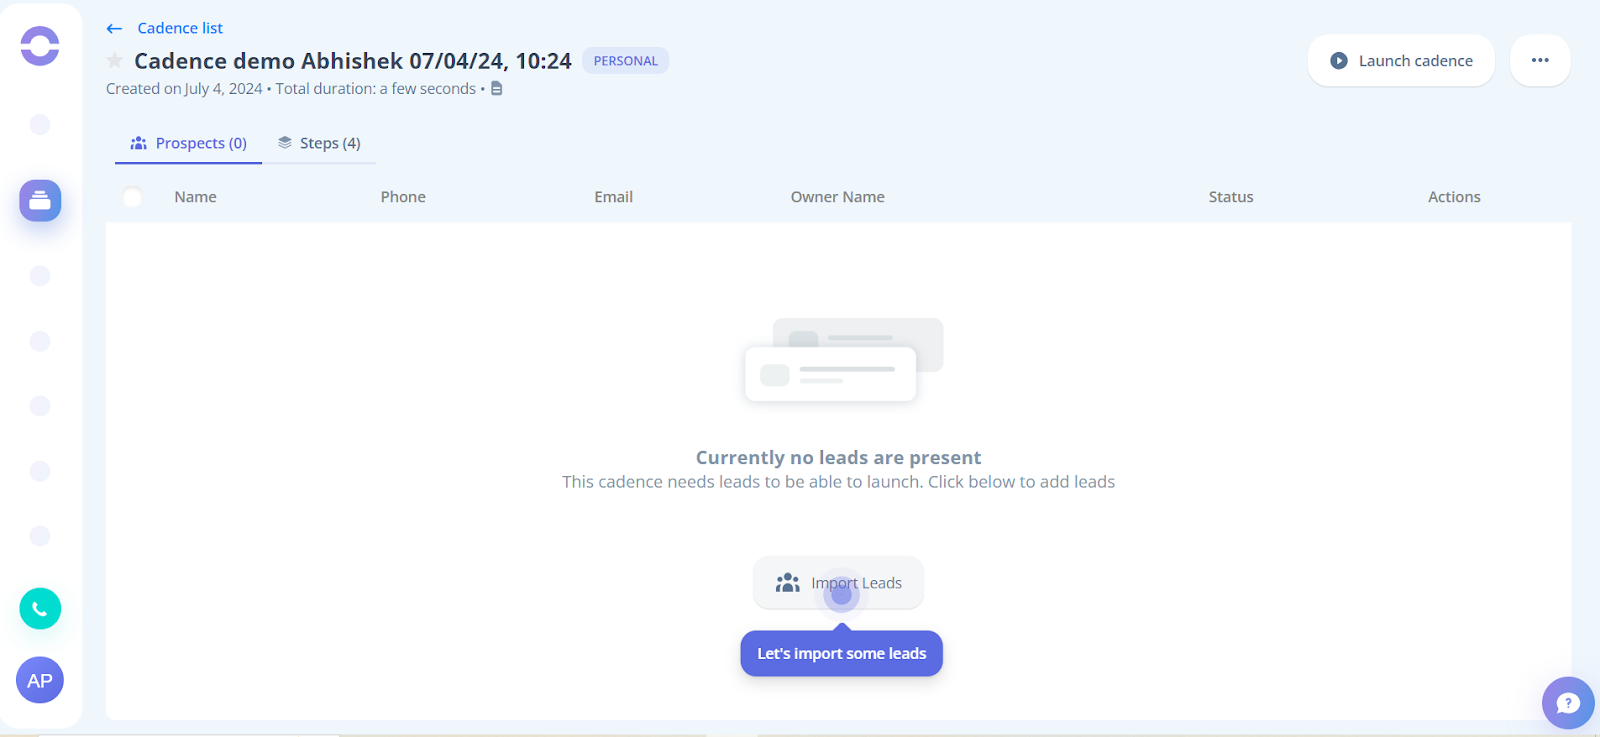
10. To import leads in Cadence, click on the “Import leads” button.
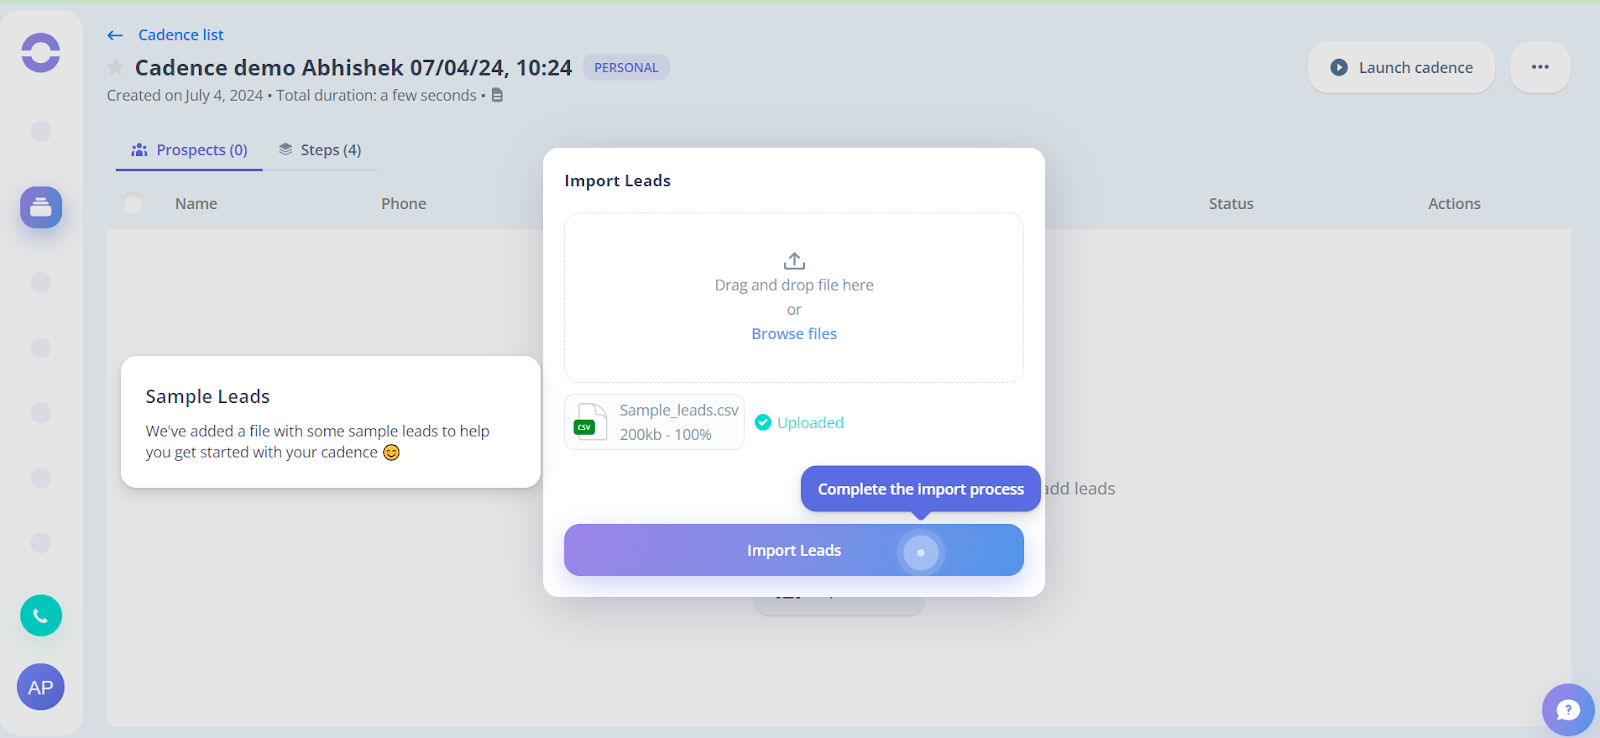
11. After that, the sample file will be automatically imported. Click the Import Leads button.
12. After the leads are imported you need to click on the Launch Cadence button.

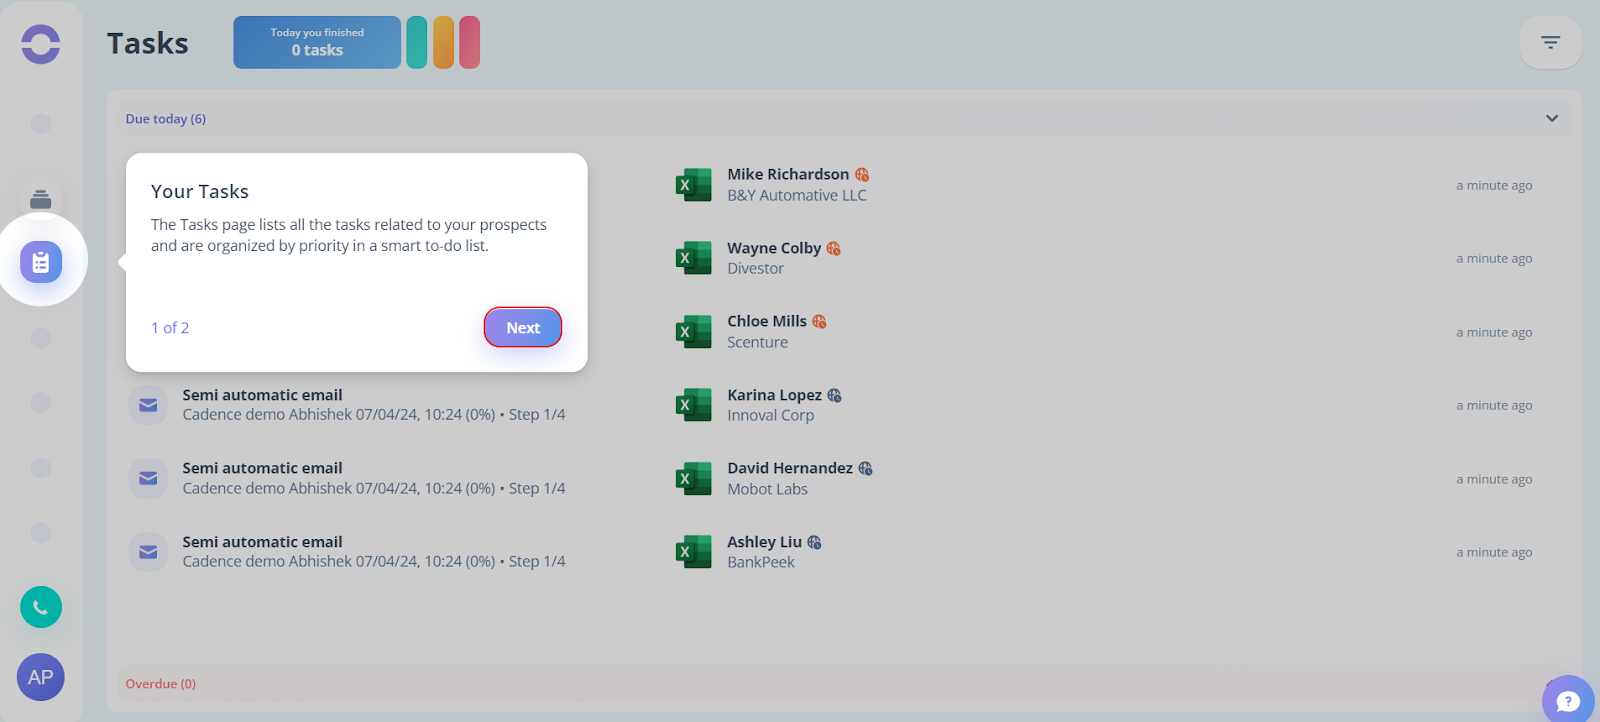
13. Next, to perform the tasks, click on the task page.

14. The Tasks page lists all the tasks related to your prospects. Click Next to perform the tasks.
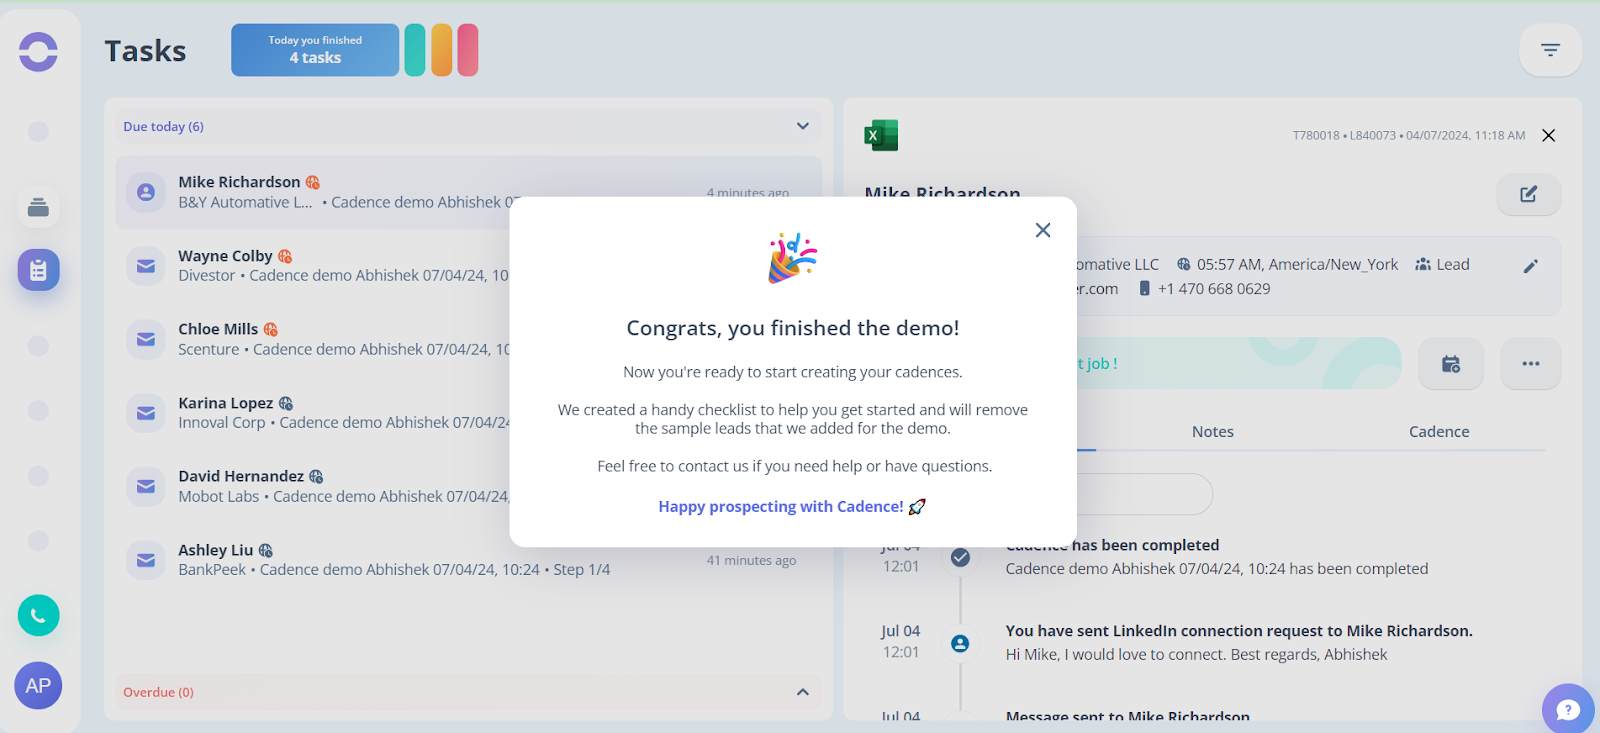
15. Now you need to complete 4 tasks for one of the leads in the cadence.
Click Start.

16. Now let's have a look at the first task. Click on the first task prompting on your screen.

17. After clicking on the task the Task page will open and click on the “Semiautomatic email” button.
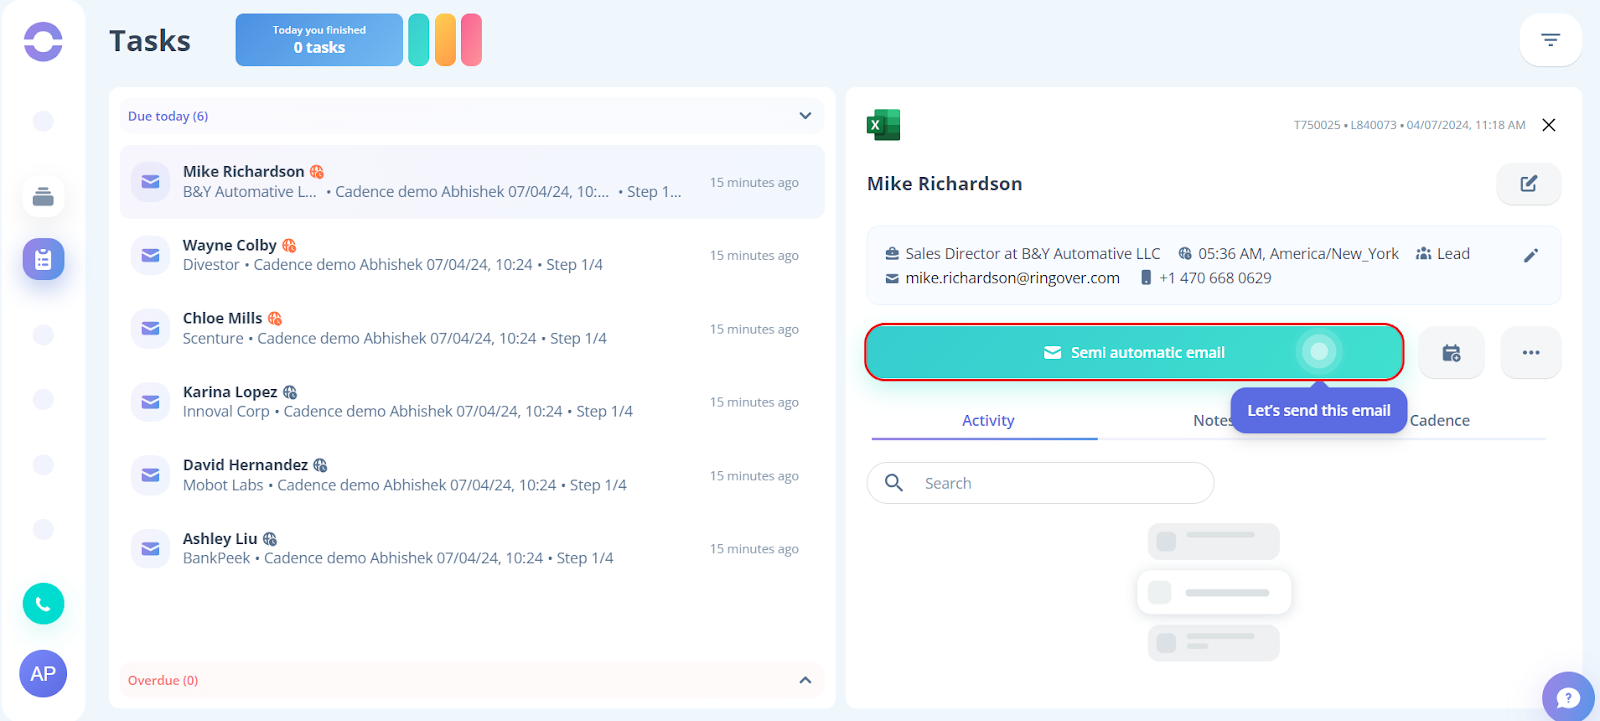
18. After that, the Send mail modal will appear on your screen, Click on the Send email button.

19. To perform the next task click on the task prompt on your screen.
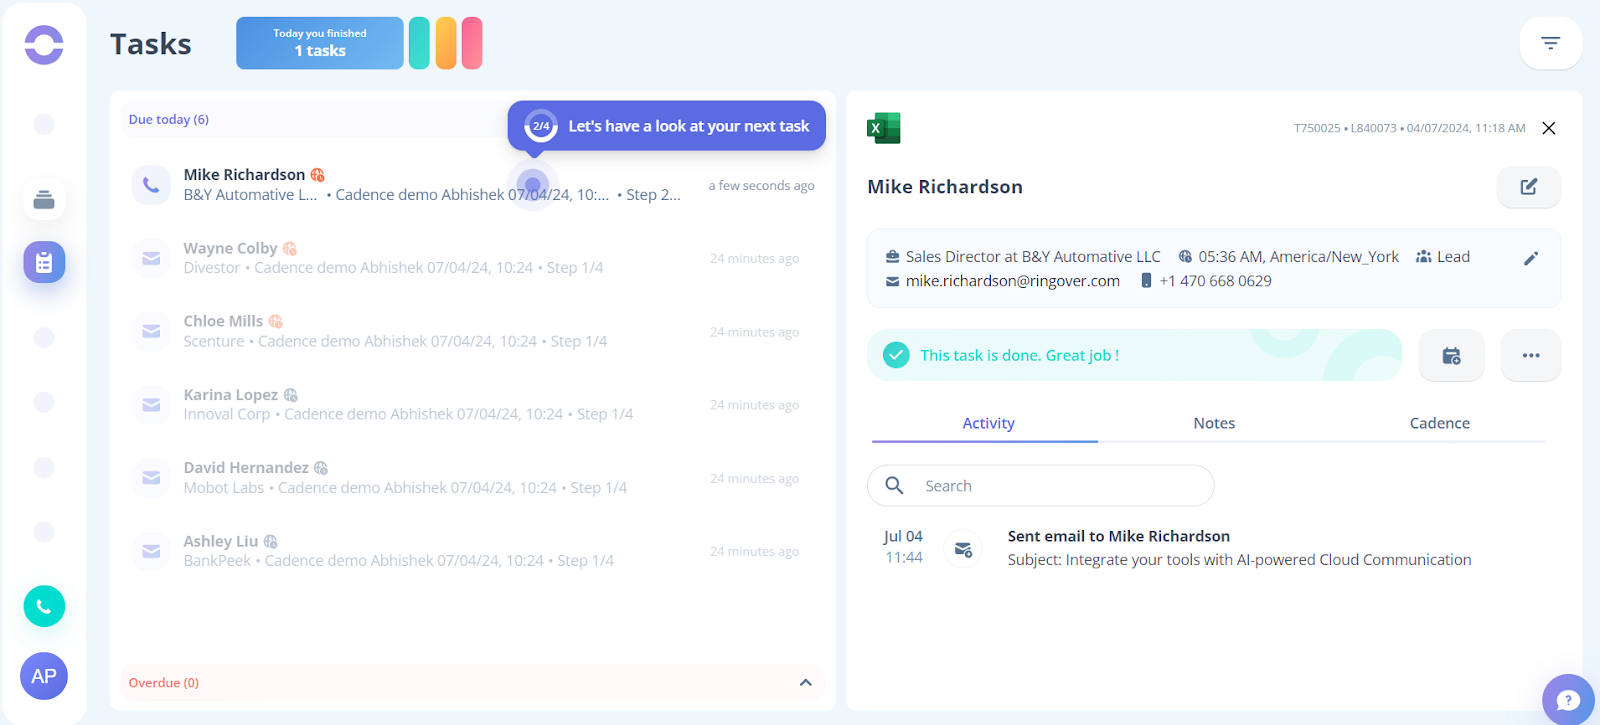
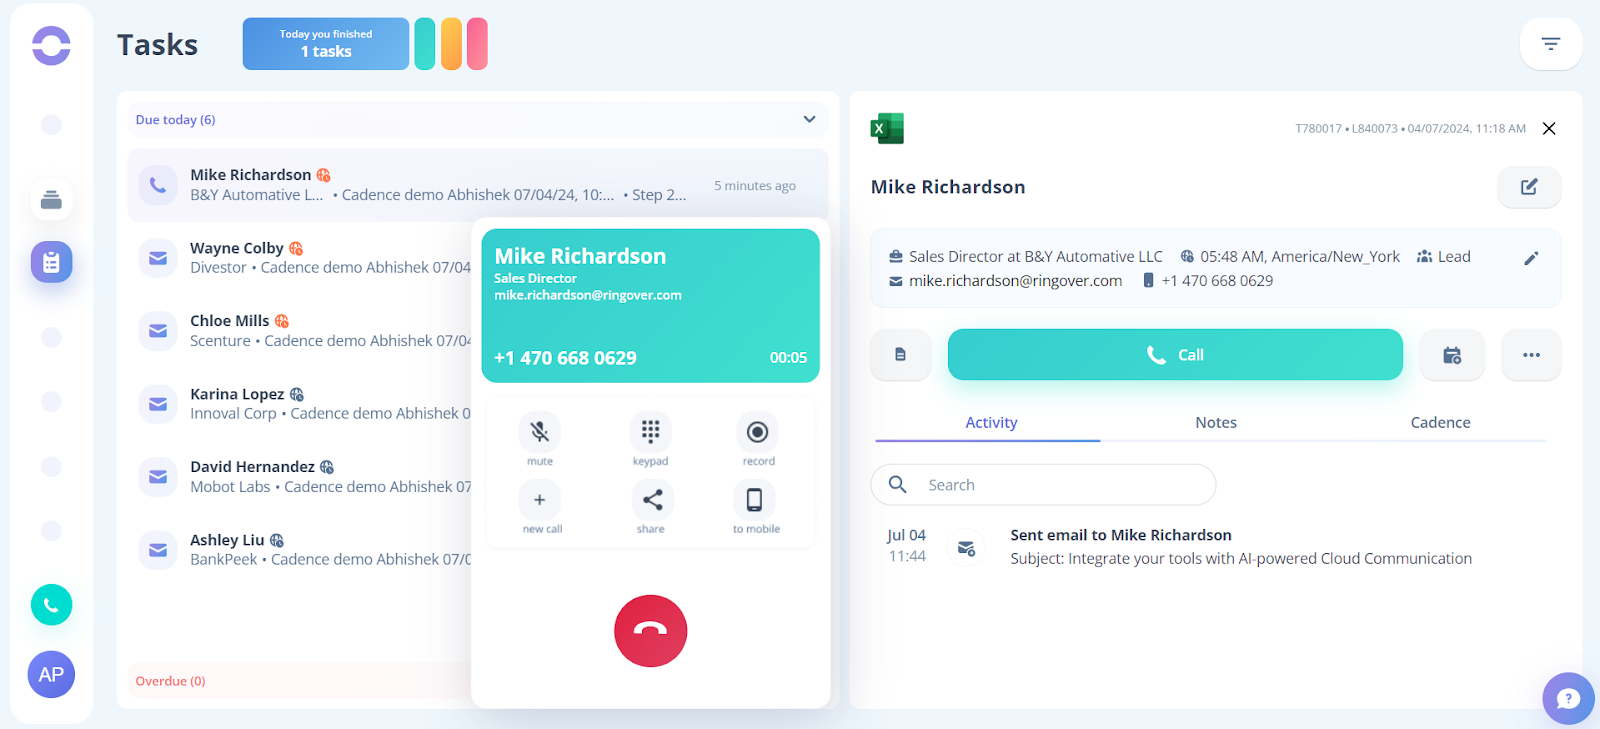
20. The next task is a call task. Click the Call button to perform the task. You will be able to see the call task being performed for the sample lead on your screen.

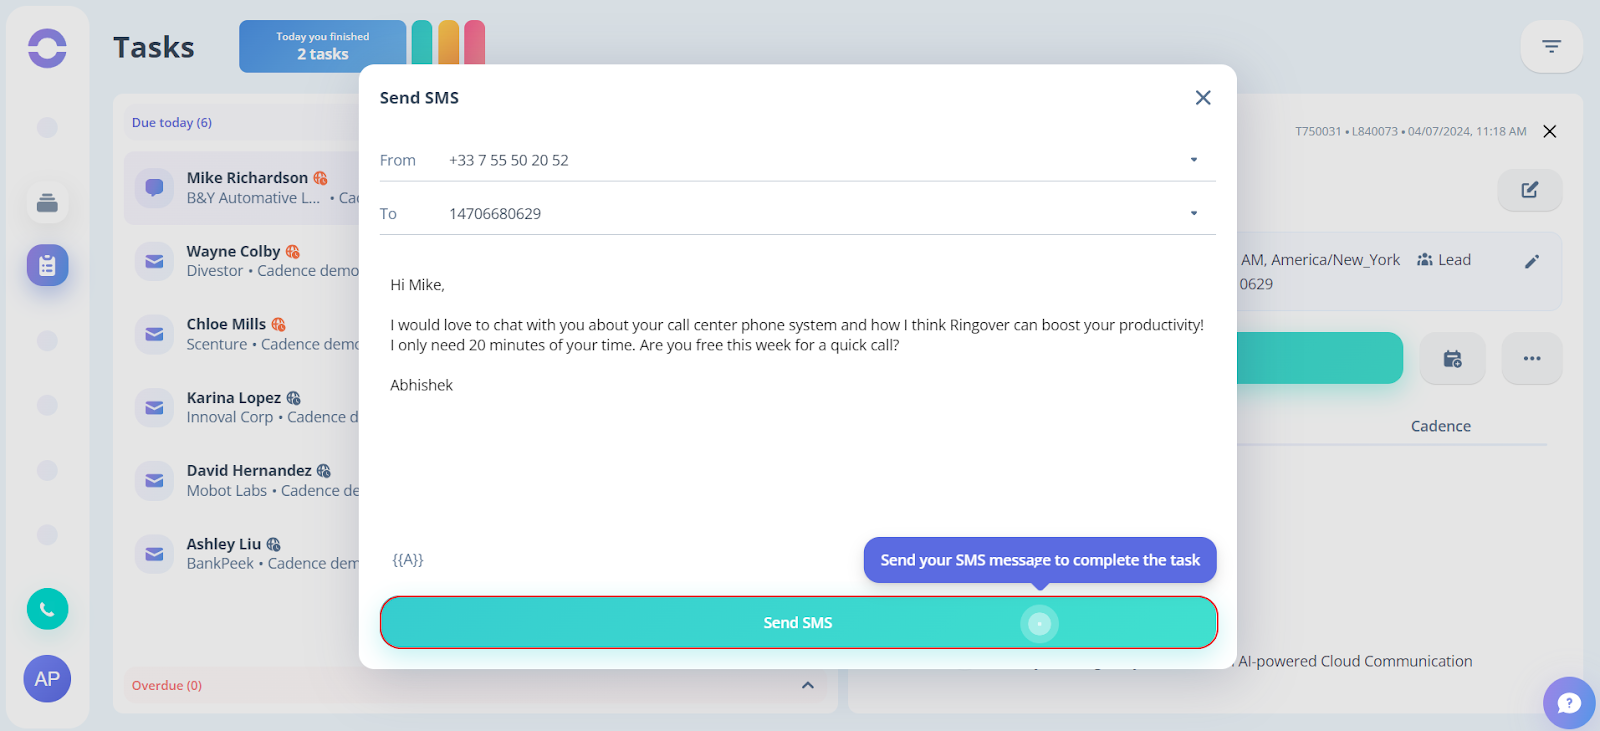
21. To perform the next task, click on the Semi-Automatic SMS button.
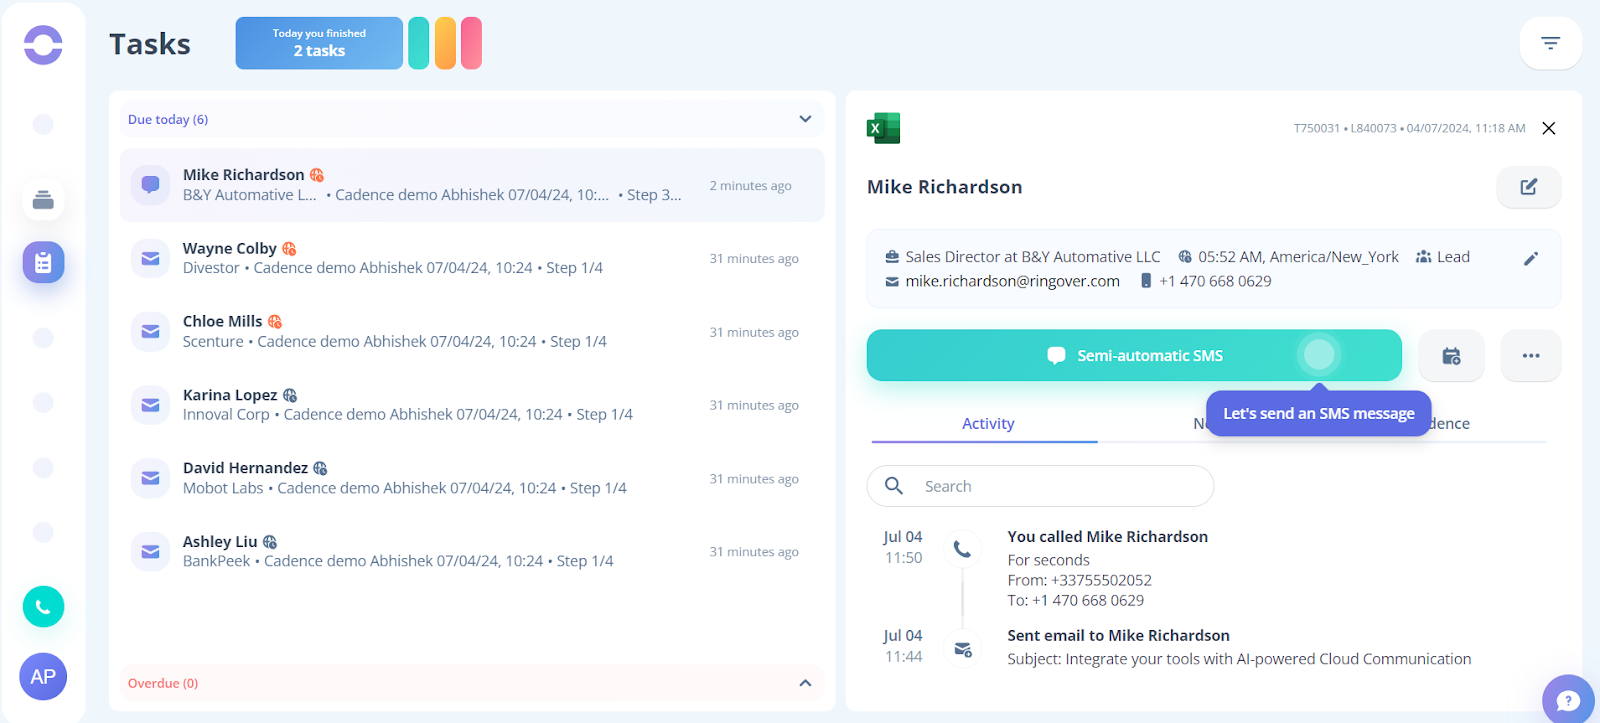
22. A task modal will open. Click on the Send SMS button.
23. To perform the next task, click on the LinkedIn connection button.
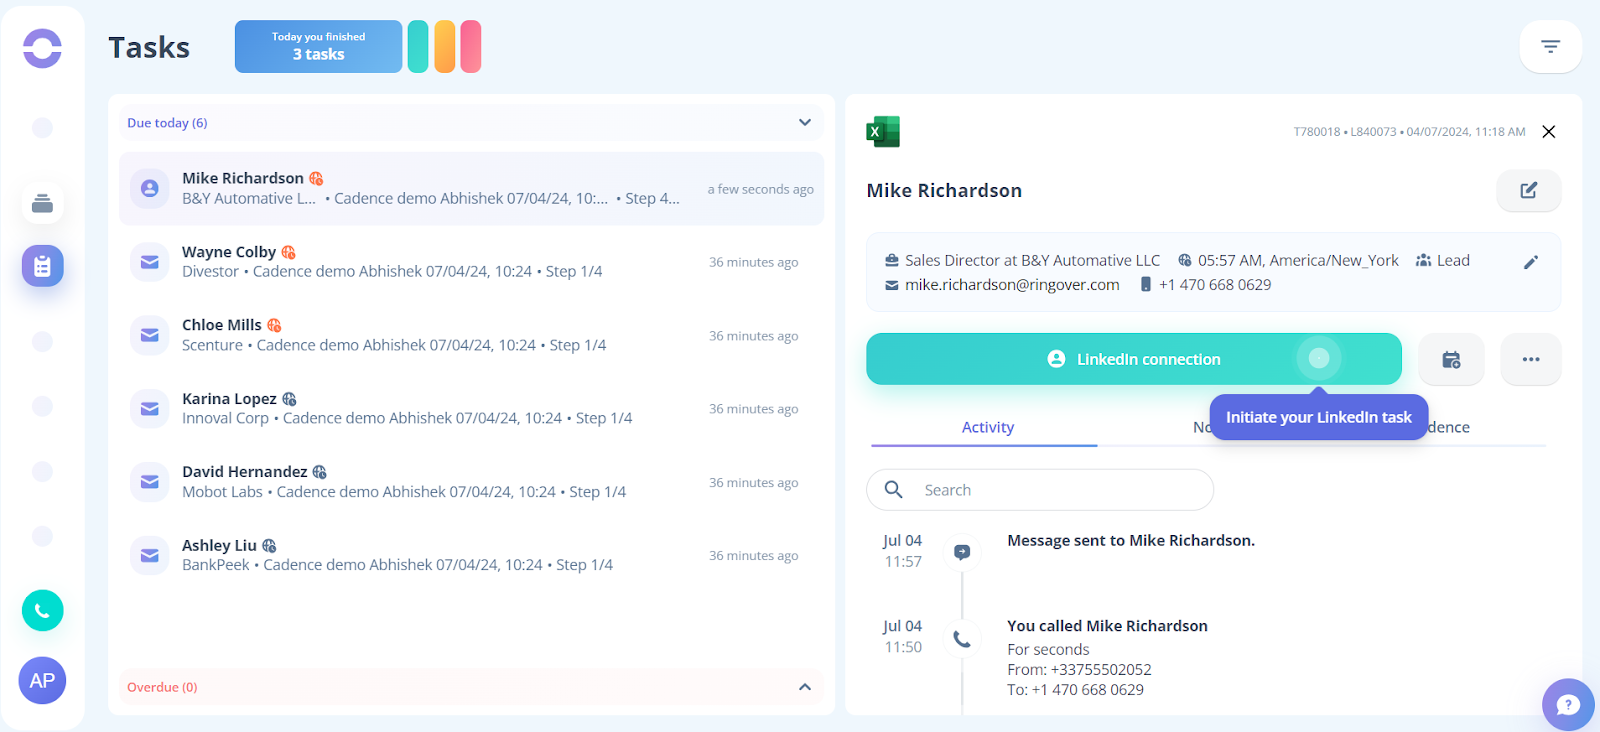
24. On the task modal, click on Send connection request.

On completing all the tasks, you will get to see the success modal on your screen.