TargetRecruit, a leading cloud-based Applicant Tracking System built on Salesforce, empowers recruitment teams worldwide to streamline and optimize their hiring processes. By integrating Ringover with TargetRecruit, you supercharge your communications: make calls directly from the integrated dialer, automatically log calls, SMS and Whatsapp messages and keep every interaction synced and accessible in one place.
Once activated, the integration allows you to:
- Call from the integrated dialer
-
Synchronize your TargetRecruit contacts with Ringover, including the following record types:
- Contact
- Candidate
- Candidate External
- Candidate Internal
- Healthcare
- Log your call activities
- Log your SMS messaging activities, when included in your plan
- Log your Whatsapp messaging actitivities, when included in your plan
- Benefit from Ringover transcriptions and summaries in your call logs (recording must be enabled)
- Benefit from summaries and next steps with AI in your call logs (when Empower is activated)
Follow this guide to seamlessly connect Ringover with your TargetRecruit account.
Prerequisites
Before starting the integration, ensure the following requirements are met:
- Ringover Account: You must have admin access to your Ringover dashboard
- TargetRecruit Account: Make sure you are logged in as a TargetRecruit admin user
- Permissions: Ensure your TargetRecruit account has permissions to enable third-party integrations
Step 1: Activate the integration in Ringover
1. Log in to your Ringover Dashboard
2. Go to the Integrations Section
- Click on 'Store' in the left menu
- Select 'Integrations' from the dropdown list
3. Locate "TargetRecruit" from the list of available integrations and click "Activate"
4. Confirm the activation
5. Read and allow the permissions
Note: Ringover requires solely three permission scopes in order make the integration functional.
- Access the identity URL service: used to link with the account and list the users
- Manage user data via APIs: used to provide user mapping and log the communication activities with the right user information
- Perform requests at any time: log communication activities and update them with aftercall activities such as call summaries and transcript links
Step 2. Configure your settings in Ringover
You can now click on 'Configure' to finish the configuration of your integration.
💡 For more information on the configuration, check out our dedicated section "How to configure your tool?"
🚀 For a quick start, make sure that you have mapped your users by clicking "+ manage users" and activated the synchronization of your contacts.
Step 3. Install the Ringover CTI Dialer in TargetRecruit
-
Open the Setup menu at the top
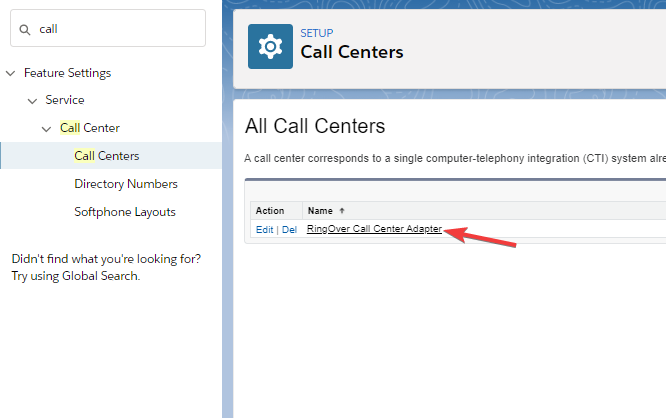
- Then look up for “Call center” in the right-hand search
- Click on “Ringover Call Center CTI Adapter”
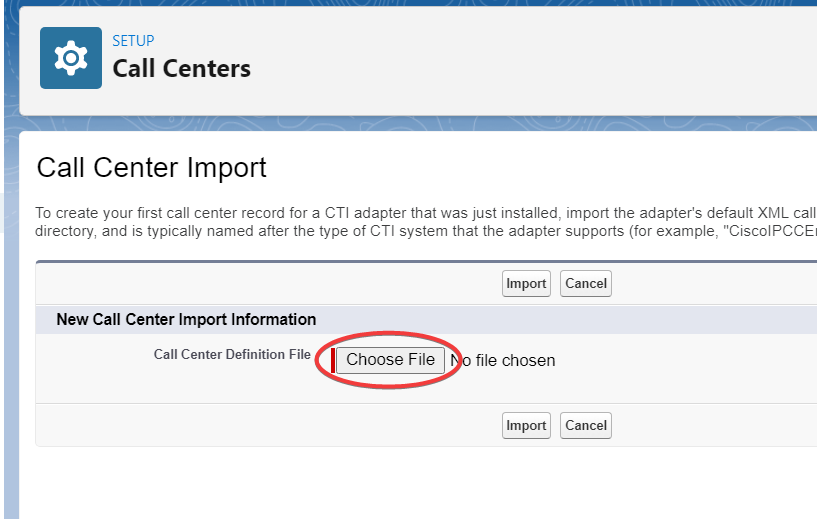
- Click on "Import":

- Click on "Choose File":
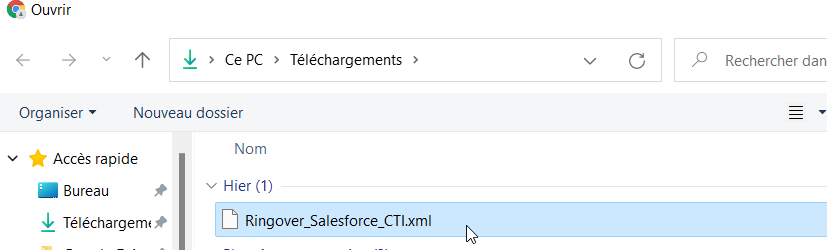
- Select the previously downloaded XML file:
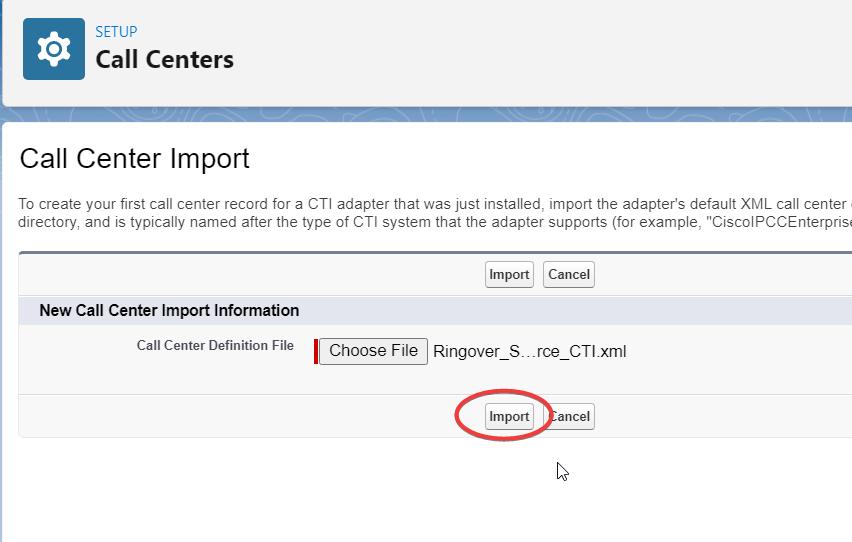
- Then click on "Import":
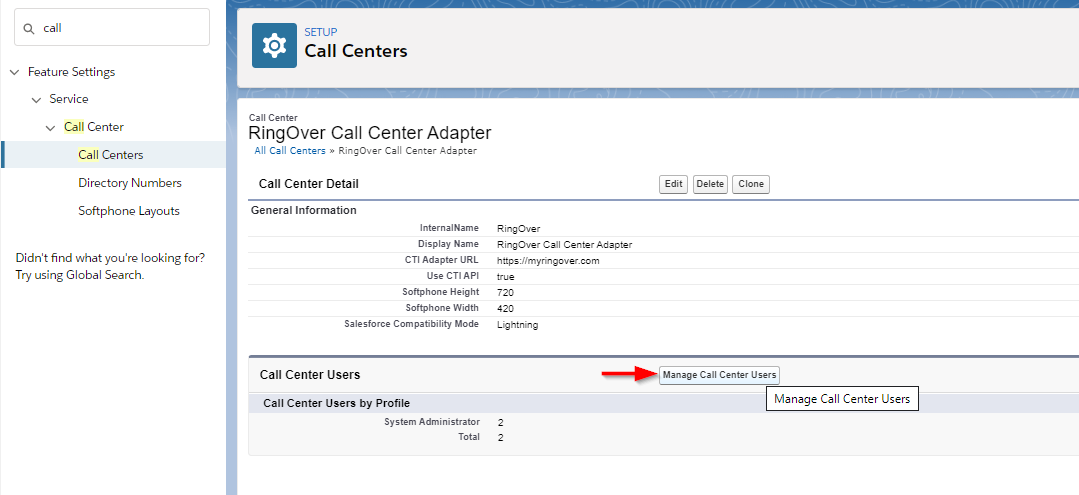
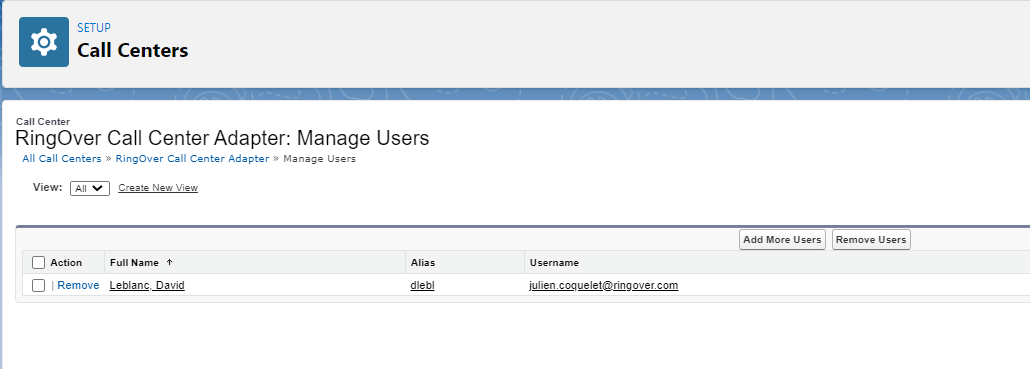
- Click next on “Manage call center users”:
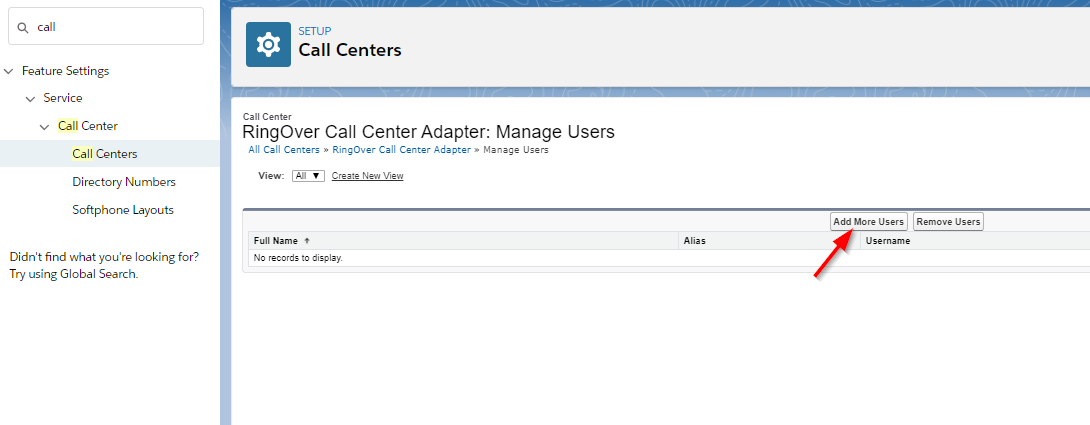
- Then click on “Add more users”:
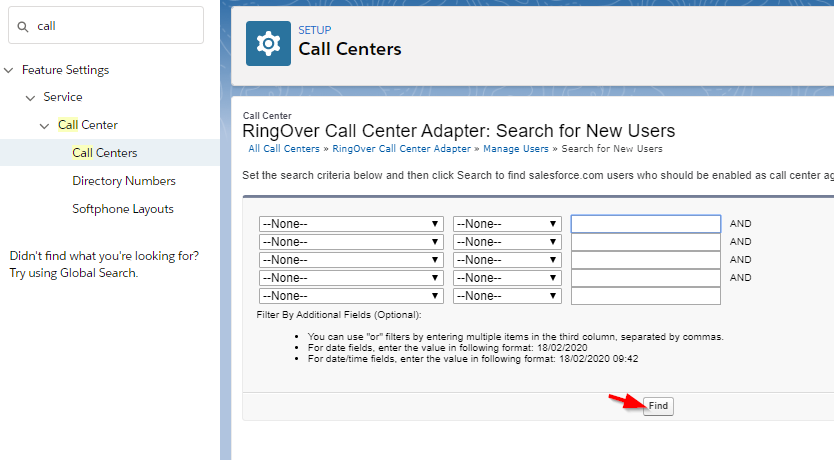
- Click on “Find”:
- Select the users and click on "Add to Call center":
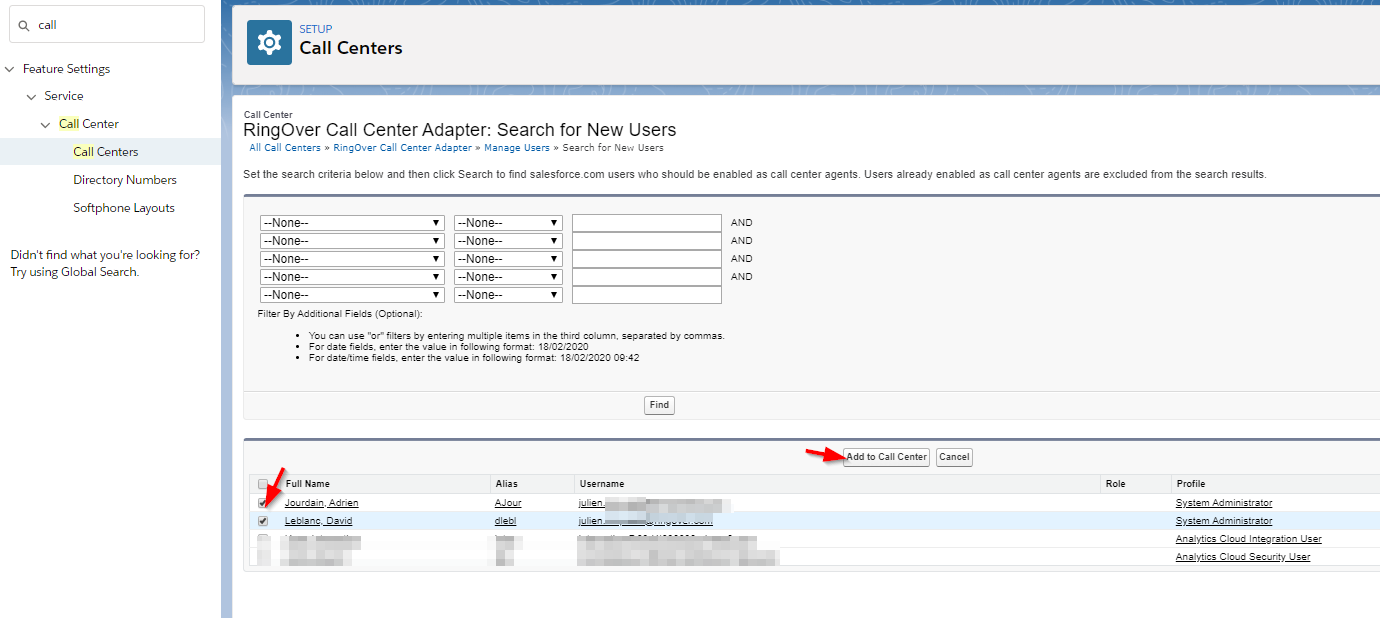
- The users added here can now use the RingOver application:
Step 4: Adding the Ringover app to the toolbar
- Still in the configuration menu, go to “Applications management”
- Select the application to which you wish to add Ringover; here in our example we’ve chosen “Sales” (be sure to choose a “Lightning” application) and click “Modify”
- Click on “Utility Items (Desktop Only)”
- Then “Add Utility Item”
- Select “Open CTI Software”
- Change the name by “Ringover” and click “Save”
That’s it, the integration is complete! Ringover will now appear in your toolbar 🎉
You can now make a test call and verify that the activity is logged in TargetRecruit as an activity :