After subscribing to our “Omnichannel messaging” offer in your Add-ons. Omnichannel messaging by Ringover gives you the option to connect with:
Prerequisite
- You’ll need a verified WhatsApp Business account, you can check whether your account is verified here For further information on WhatsApp verification, click here
- It may take around 48-72 hours for this request to be processed and executed.
To set up this integration:
- Go to your Ringover Dashboard and go into the Integrations section.
- Select a verified Meta account
- Create a WhatsApp Business account
- Select or create the user
- Verify numbers via call
Good to know
- Take a look at our pricing section to find the rates for the "Omnichannel Communication" add-on.
To create a Template:
- Go to the Ringover Dashboard and click on the button to configure the WhatsApp integration
- Click on “Add a Template”.
- Enter a name, then add the body text of the message.
- You’ll see that your Template is marked as “pending validation” (it will be validated by WhatsApp, which can take around 48-72 hours).
- If your Template has been validated by Whatsapp, it will be marked as active. Otherwise, it’ll be marked as inactive or rejected.
💡If your Template has been rejected, please refer to this link for further information: https://developers.facebook.com/docs/whatsapp/message-templates/guidelines/
In the meantime, pending the validation of your Template, go back to the Whatsapp integration on your Dashboard, and then you’ll need to select the agent or agent group to whom you want to assign this number (list of your agents and group) by clicking on the pen icon to the right of the number that you’ve connected.
Creating a conversation and sending messages:
- Go to the Ringover Webapp or your Android application and access the Messages section, then click on the WhatsApp icon.
- Click on New Message.
- Select or enter the number that you want to send the message to.
- Select the Template you want to use, which you’ve created previously following the steps explained above.
- Click on send.
- You can only reply to messages once the contact has replied to your first message.
After the first Template or message sent by the agent, you have 24 hours to reply. After this period, the conversation will be set to inactive and you’ll need to send another Template to restart the conversation (you can select another one).
If you receive a message from a contact without having sent a Template, you can reply to the contact within a 24-hour period.
Messenger
For its integration:
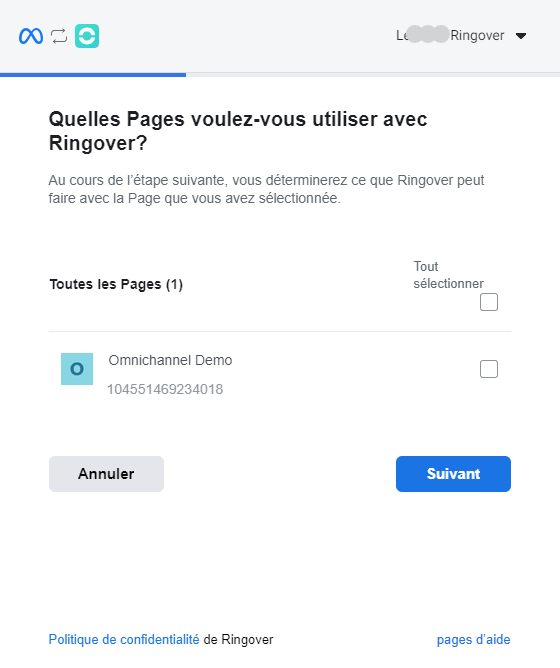
Go to your Dashboard, in the Integration section, click on Activate in Messenger and a pop-up will appear to allow you to sign into Facebook:
- You’ll need to select the page (business page, event page, etc.) that you want to connect to Ringover, and check that all permissions have been enabled in the next pop-up.

- Once the pop-up is validated, go back to the Messenger integration on your Dashboard, and then you’ll need to select the agent or agent group to whom you want to assign this page (list of your agents and group) by clicking on the pen icon to the right of the page that you’ve connected.
For use:
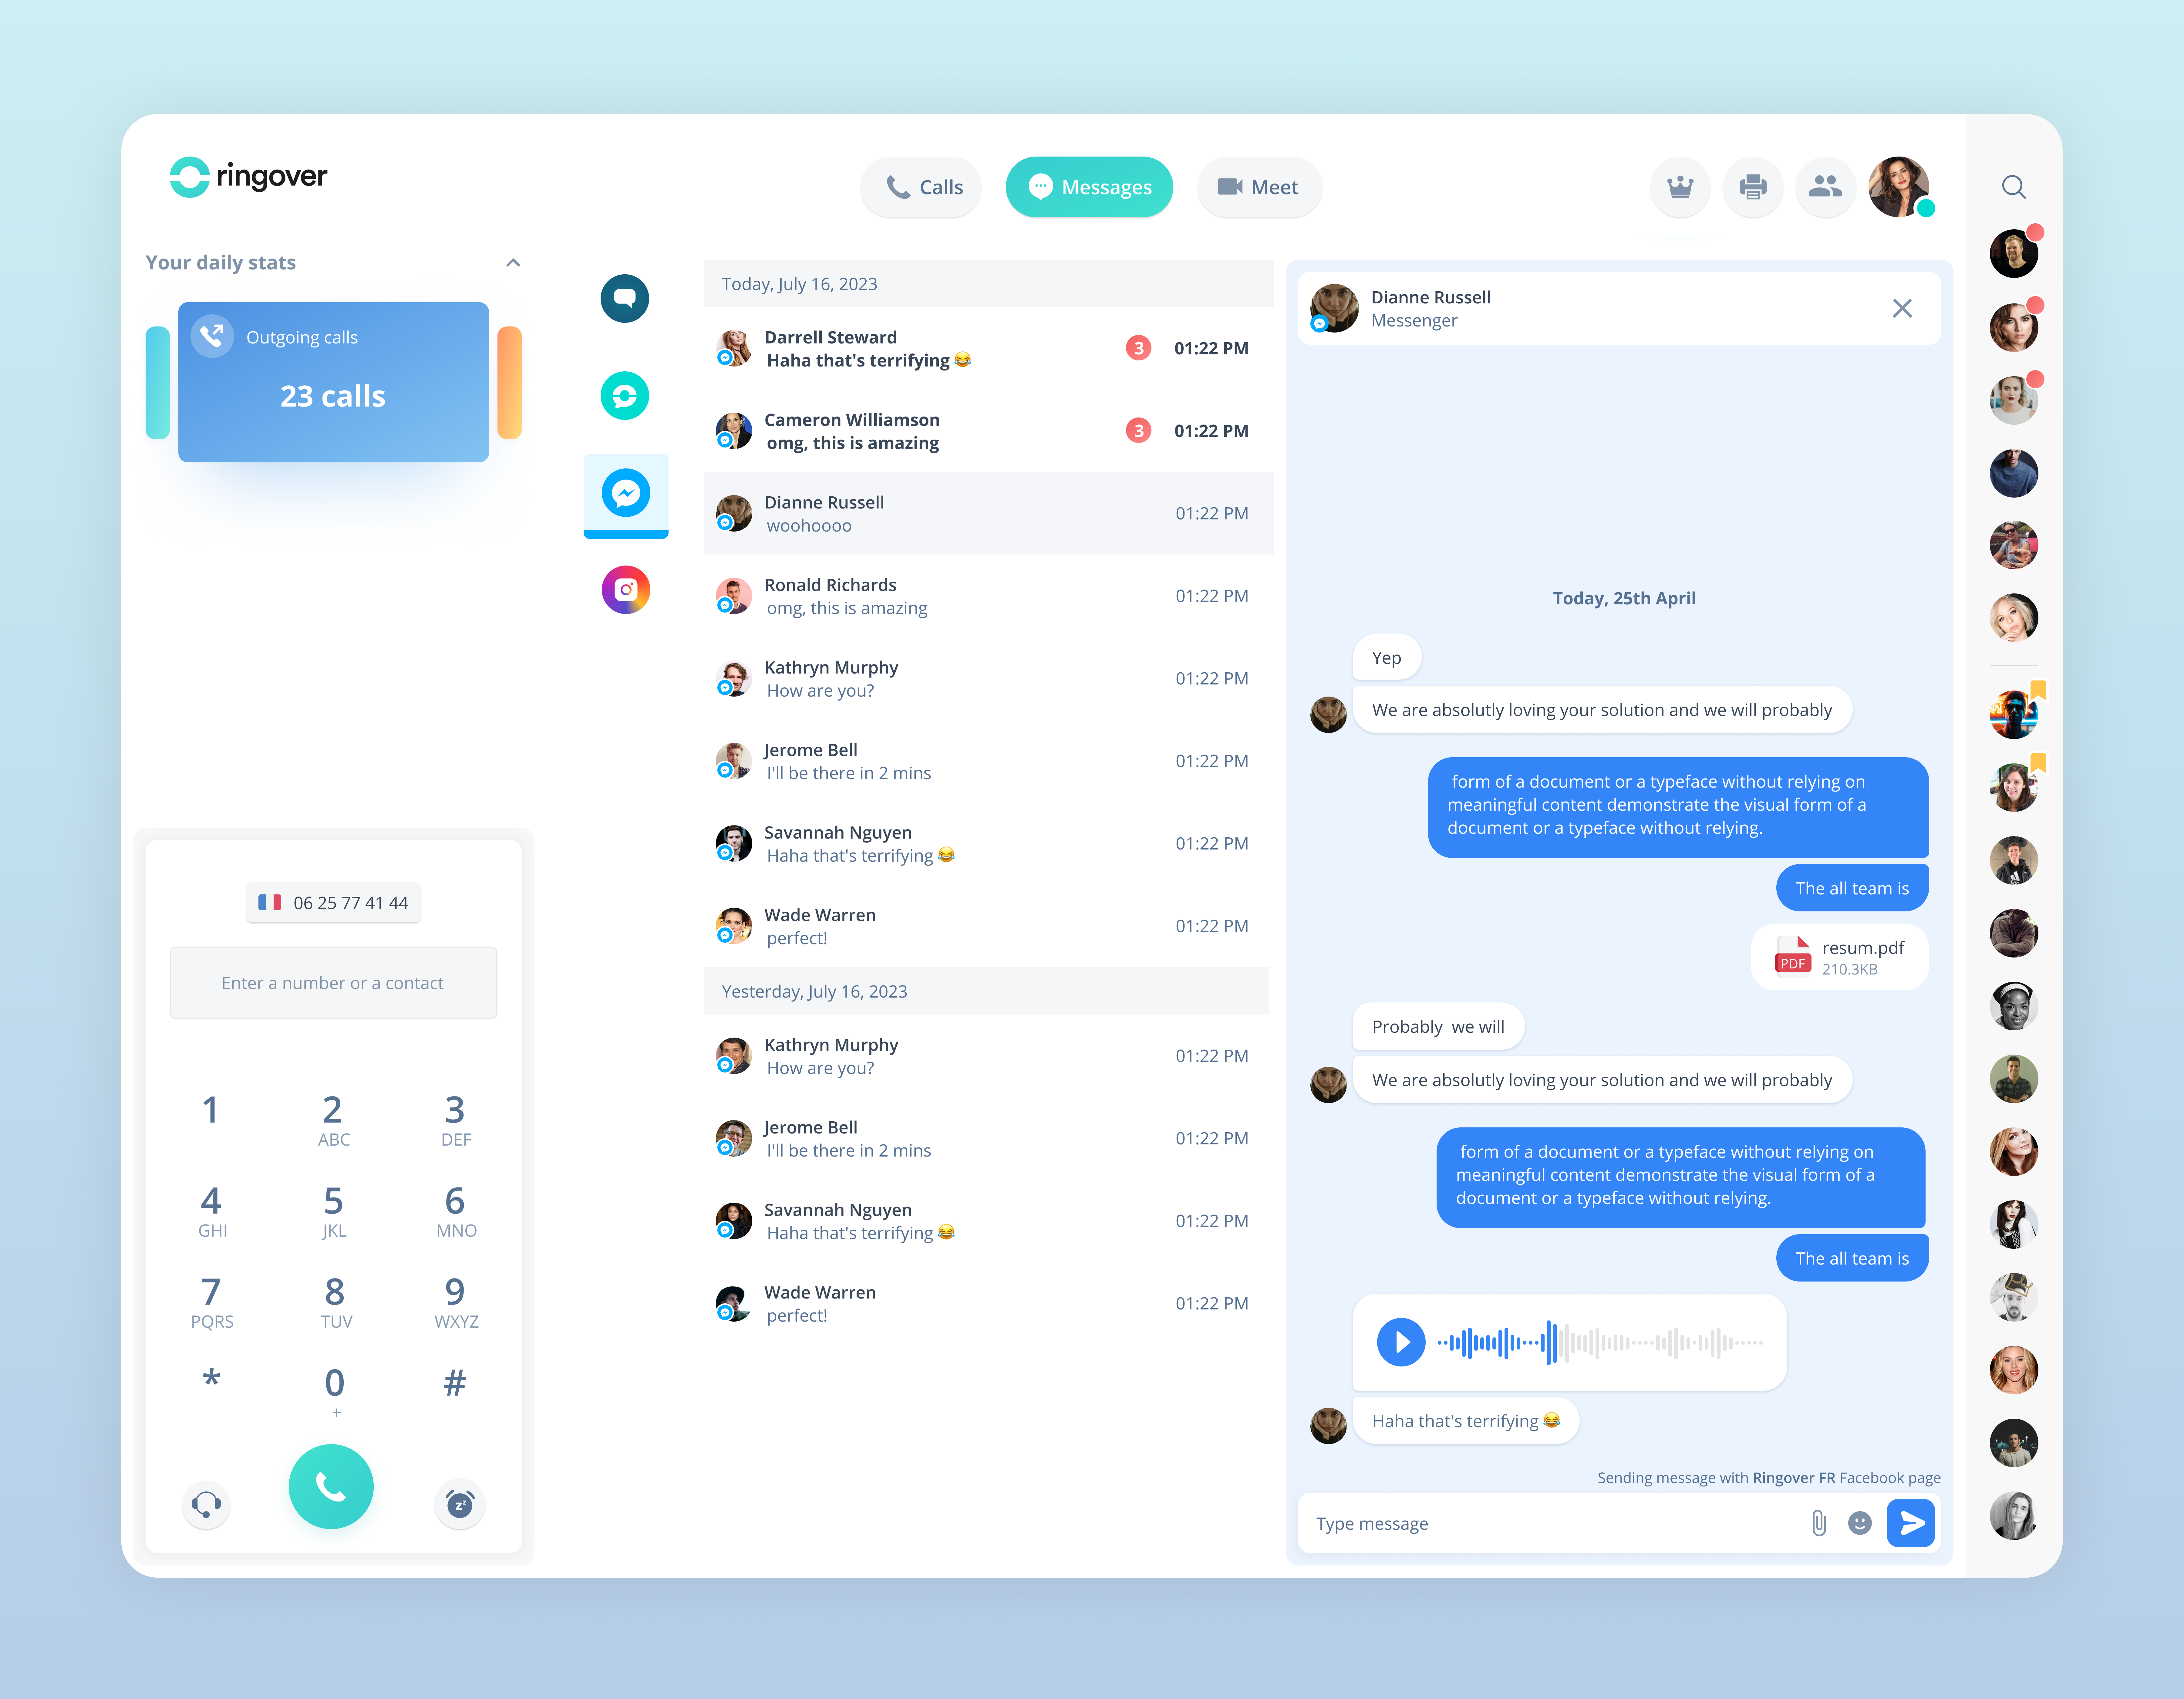
- After completing the assignments, all messages sent to the pages in question will be received on your Web App in the messages section. You’ll just need to click on the Messenger icon and select the conversation.
 💡 The response window is 24 hours from the time when the contact has sent the first message.
Edit the settings of your Instagram page:
Prerequisite
- Please make sure that your Instagram account has been switched to a professional account.
For its integration:
- Go to your Dashboard and, in the Integrations section, click on Activate under Instagram
- A pop-up will appear — allow it and log in to Instagram.
- The pop-up is validated, and you now need to select the agent or the agent group to whom you want to assign this page (list of your agents and group).
For use:
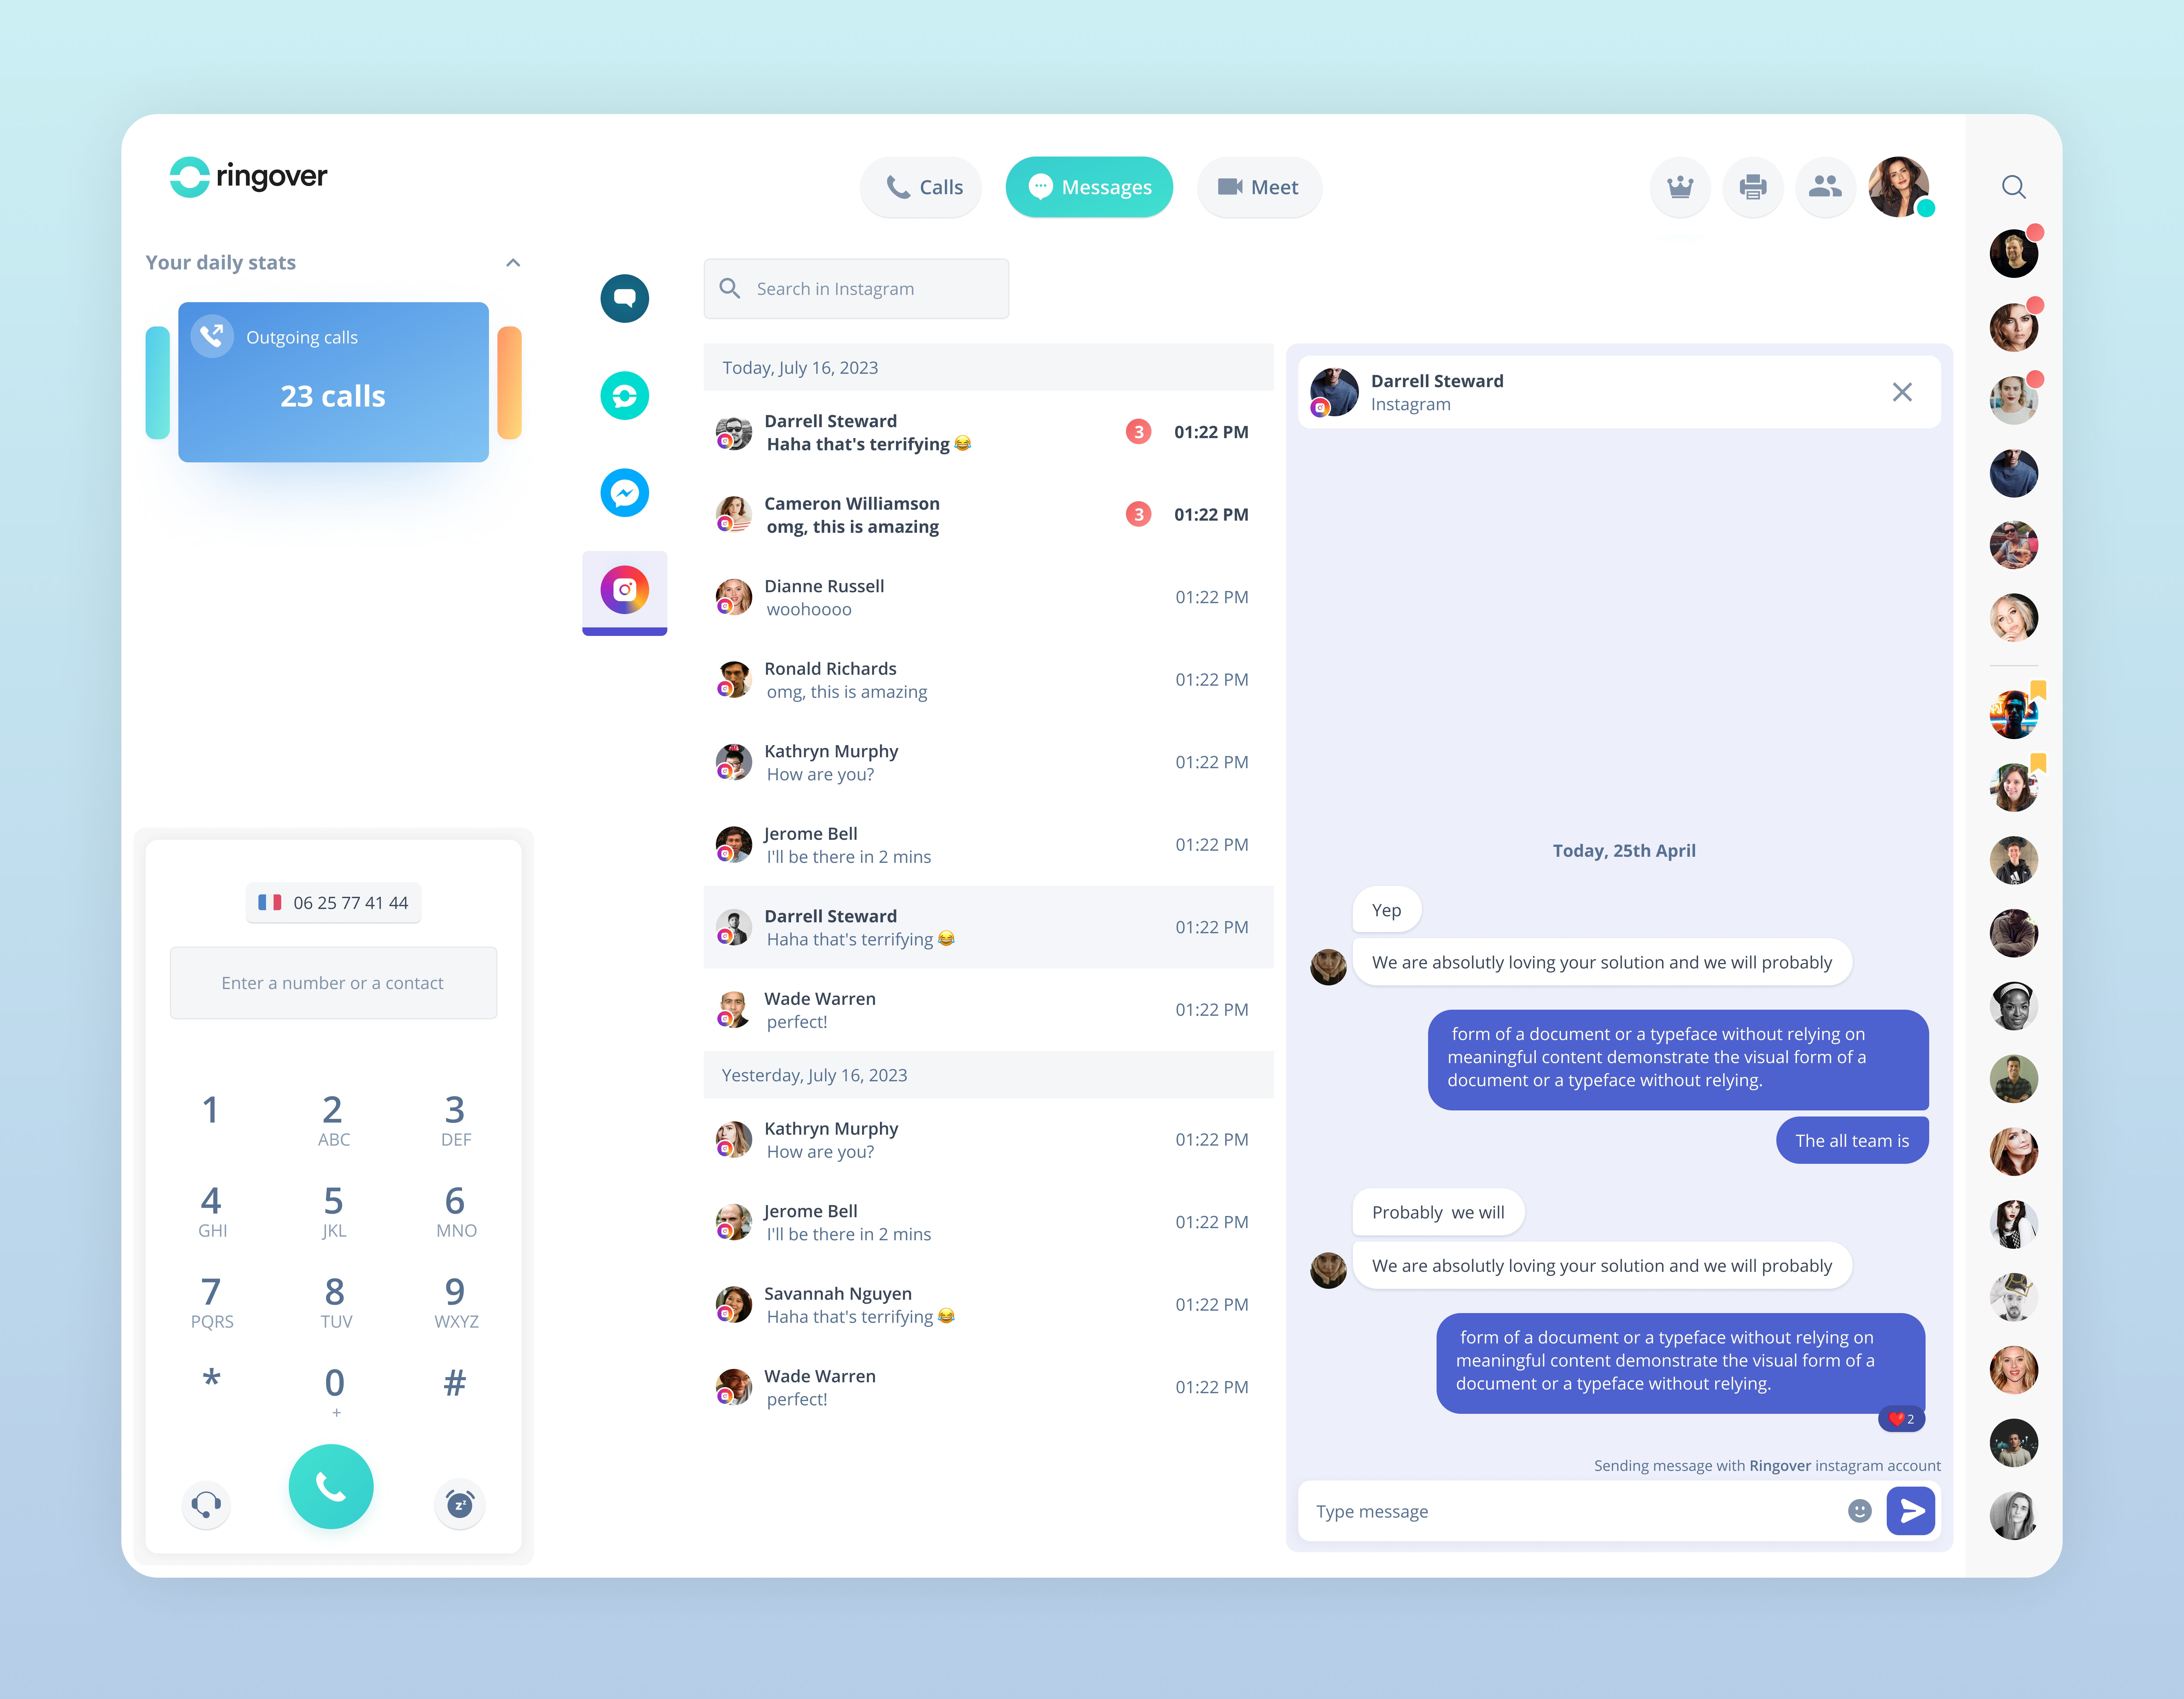
- Just like with Messenger, when the contact point sends a message to your page that you’ve configured beforehand, the agent who has been selected will receive a message on their Web App in Messenger, and the agent can then start replying.

💡 The response window is 24 hours from the time when the contact has sent the first message.
Google Review
Prerequisite
-
You’ll need a certified Google business account:
https://support.google.com/business/answer/2911778
To set up this integration:
- Go to your Ringover Dashboard and go into the Integrations section, then click on Activate under Google Review.
- A pop-up will appear, allowing you to sign into Google and select the account that you want to connect with Ringover.
- Once the pop-up has been validated, you’ll then need to select the agent, or the agent group, with the Add-on activated, to assign this account to.
Replying to reviews:
- When a contact posts a review to the account in question, the agent (or group) selected will receive a message on the Webapp and on the Android phone in the Google Review section, and then agent can then start replying.
Good to know
- Comment images cannot be imported into Ringover.
Outlook
- Go to your Dashboard.
- Click on "Integrations".
- Find the Outlook integration and click on "Activate".
- Confirm the activation.
Outlook is now activated, to configure it:
- Click on "Configure".
- Click on "Sign in with Microsoft".
- Enter your username and password.
By default, the email address will be assigned to the user who has configured it, although this can be changed by clicking on the pencil icon to assign it to a group or user.
Go into your Web app and, in the messages section, you'll find the icon for your activated email.
Good to know
- Attachments sent must be no larger than 3MB (there is no limit for attachments received).