Prérequis :
- Vous devez disposer d'un compte Ringover Business ou Advanced pour bénéficier de cette intégration 💳
- L'intégration doit être effectuée par un compte administrateur ou technique dans Ringover 👨💼
- Vous devez disposer de privilèges d'un administrateur dans Microsoft Dynamics.
Activation dans Ringover
💻Pour relier votre compte Microsoft Dynamics à votre compte Ringover, rendez-vous sur Dashboard>Store>Intégration
- Recherchez "Microsoft Dynamics" et cliquez sur "Activer",
- Et entrez votre URL Dynamics.
Installation
Accédez à Dynamics 365 Channel Integration Framework.
- Cliquez sur "Obtenir maintenant".
- Cliquez à nouveau sur "Obtenir maintenant".
- Sélectionnez votre environnement et acceptez les conditions, puis cliquez sur Installer.
- Quelques minutes plus tard, le Cadre d'Intégration de Canal devrait être installé.
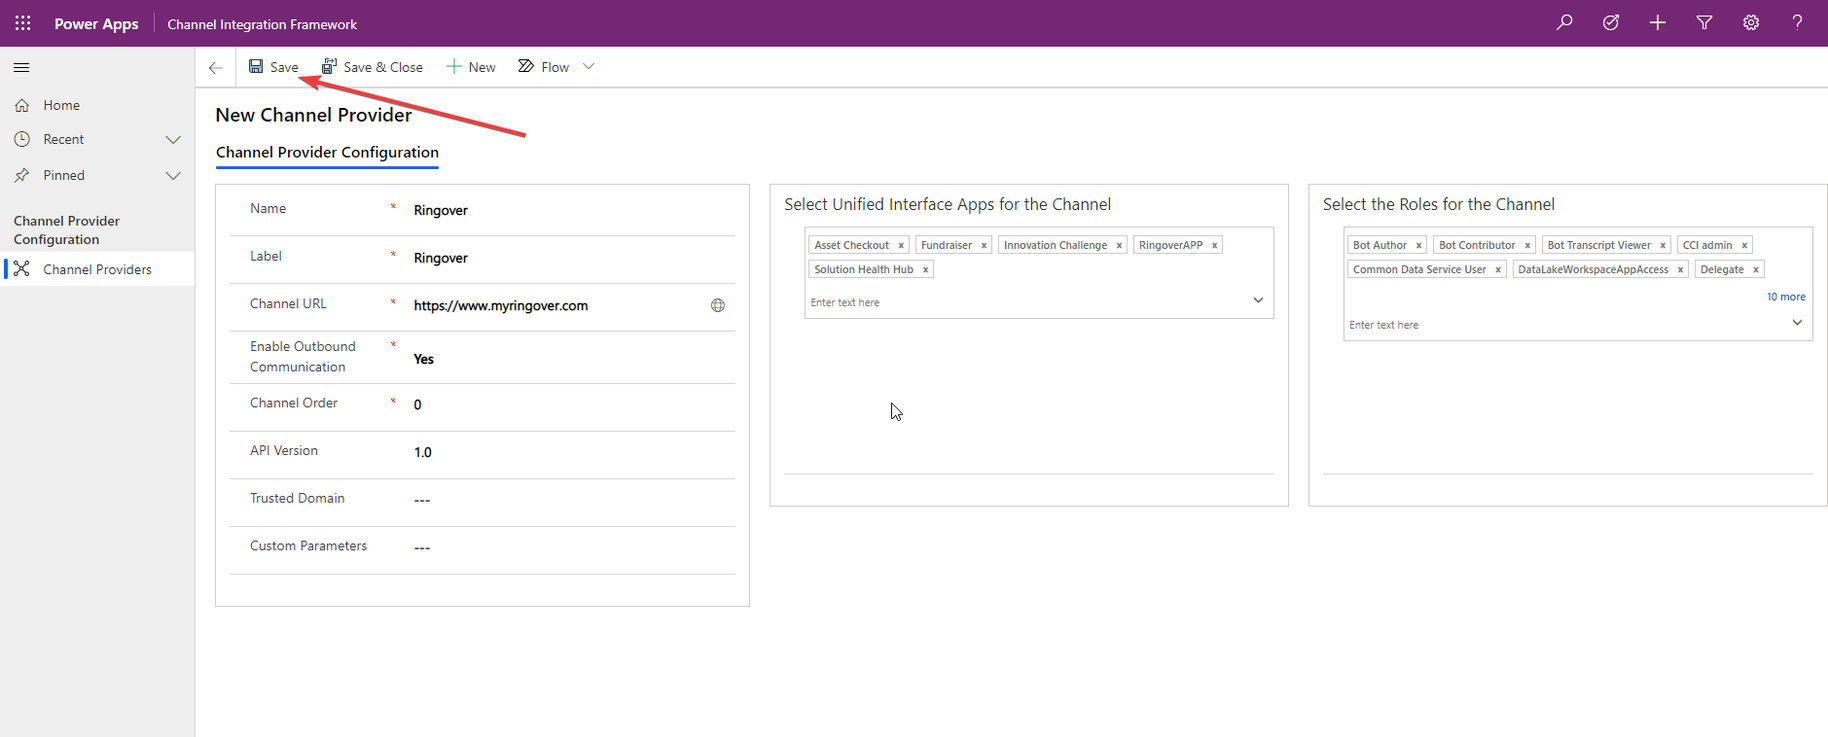
Configurer Channel Integration Framework
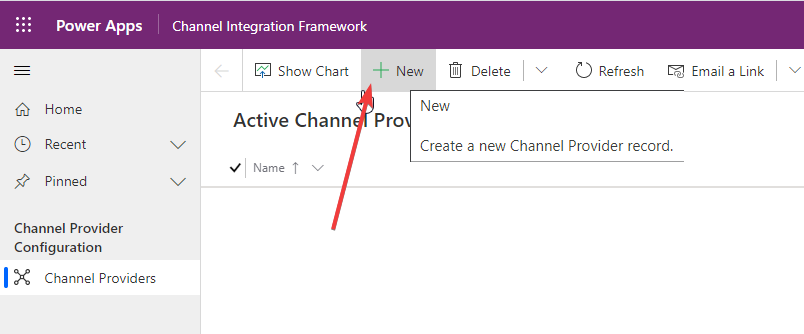
Ouvrez l'application “Channel Integration Framework”
- Cliquez sur “New”,
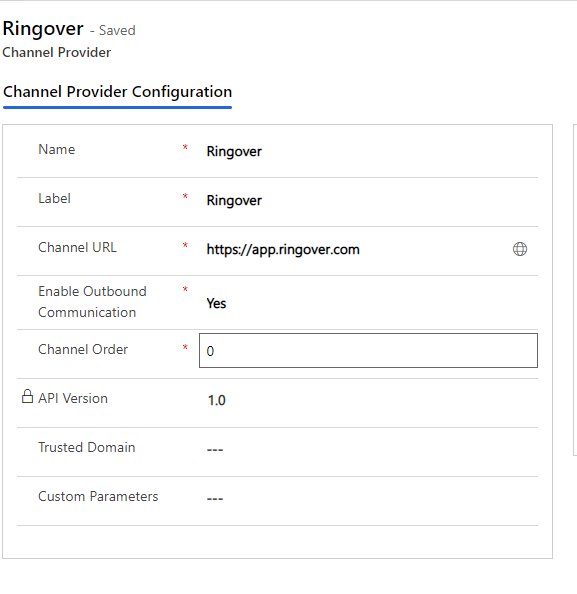
- Configurez comme suit,
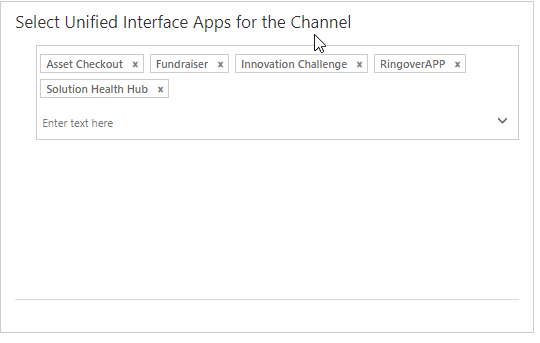
- Vérifiez de bien sélectionner les apps et rôles qui auront accès au dialer Ringover,
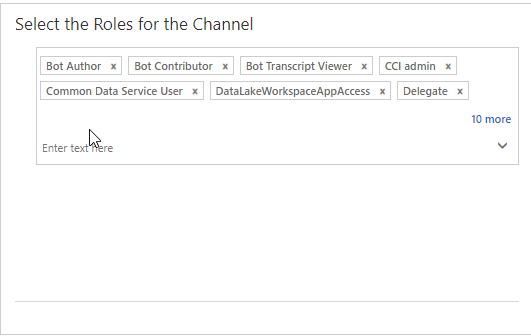
- Cliquez sur "Save",
- A présent le dialer Ringover apparaît à droite de l'écran.
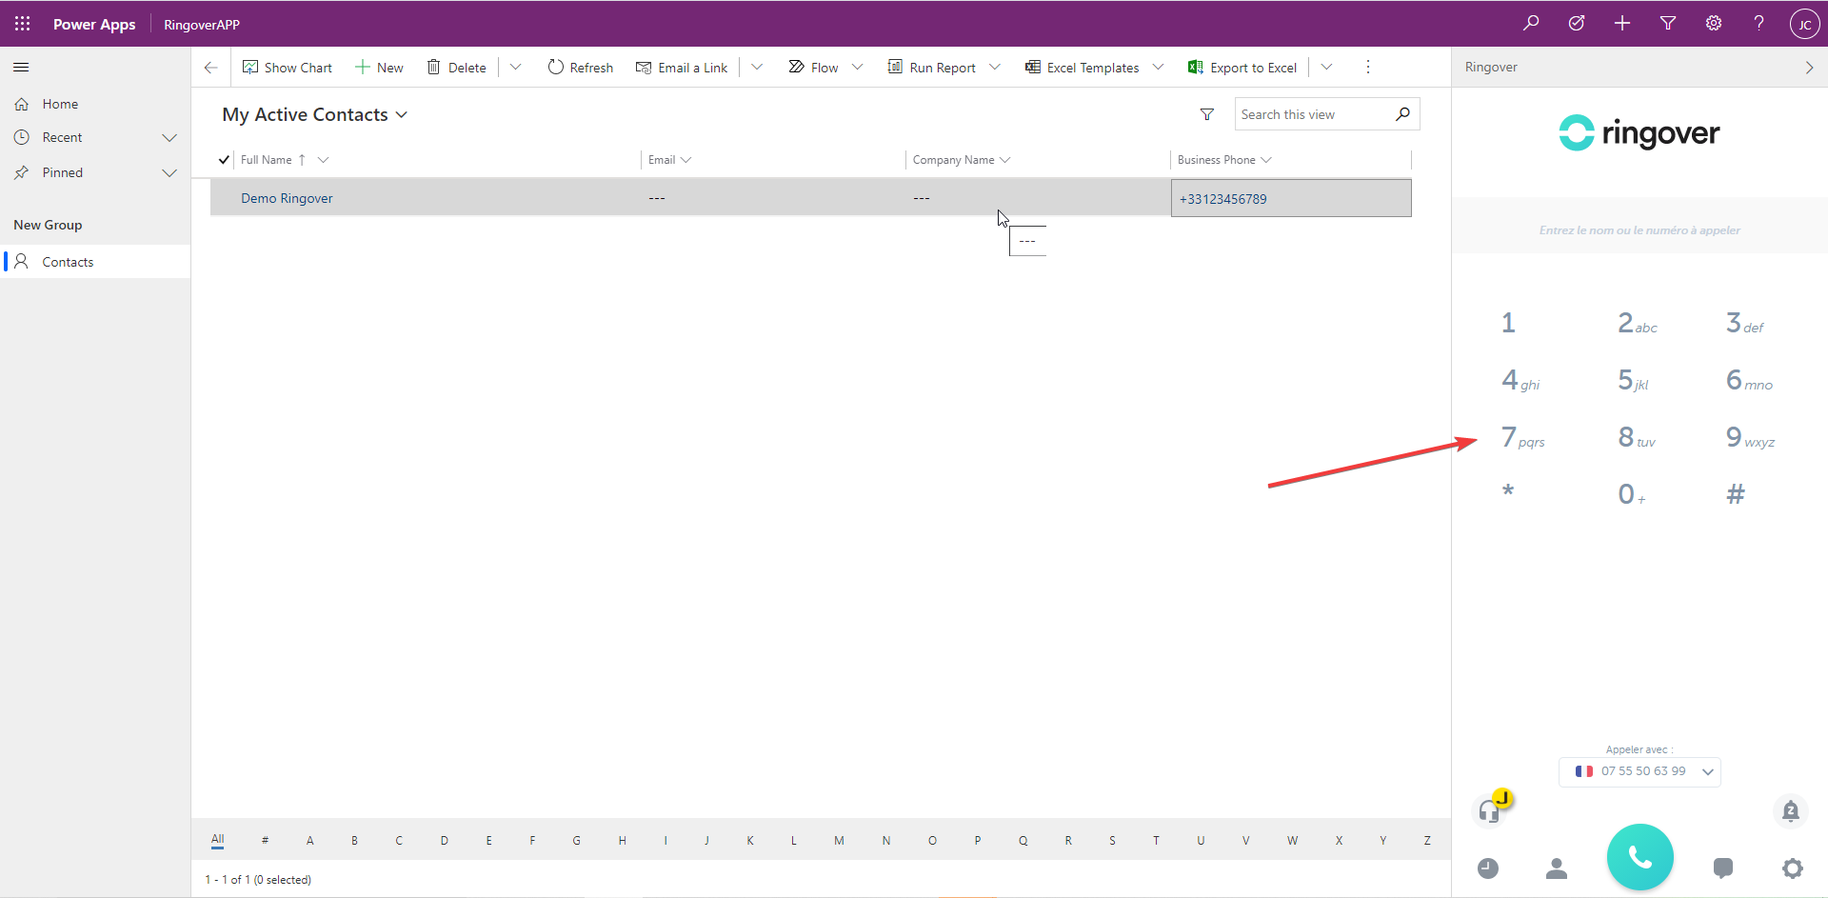
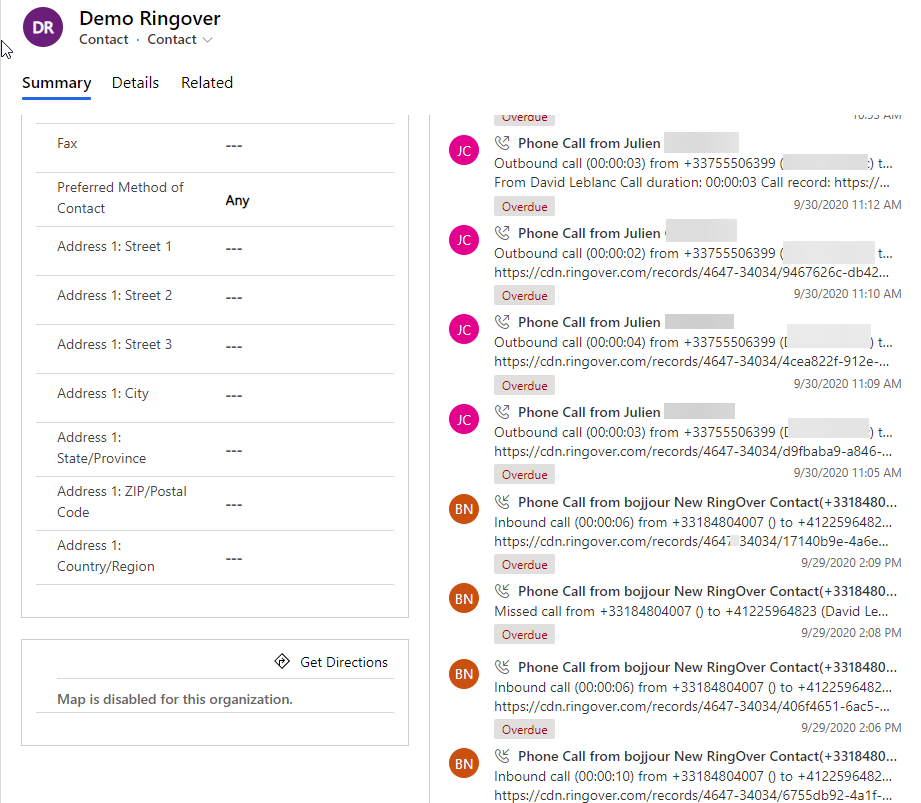
- Vous pouvez passer/recevoir vos appels depuis ce dialer. Vos appels seront automatiquement loggués dans les fiches contacts.
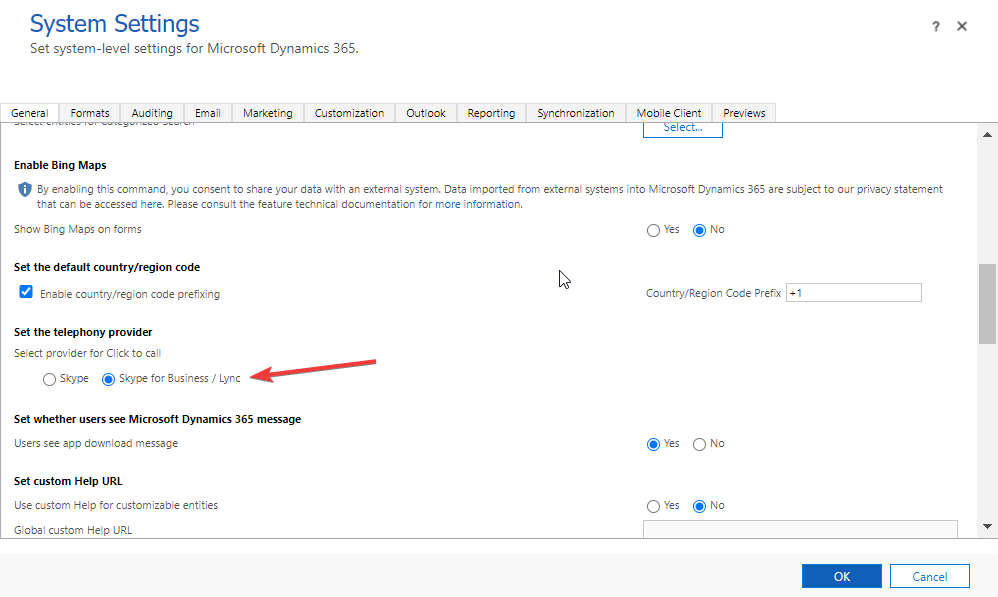
Configurer le click2call
Rendez-vous dans “Settings >> Administration” puis dans "System Settings"
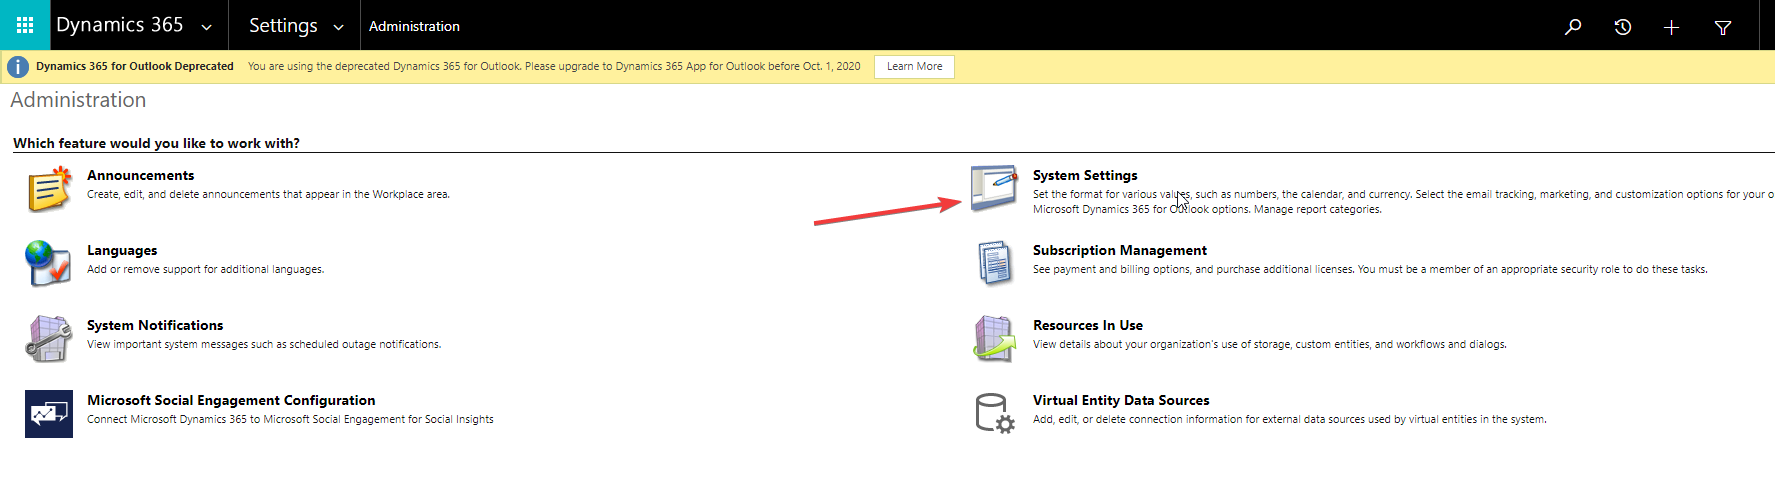
Dans l'onglet Général, Choisir "Skype for business/Link" au lieu de "Skype"
Voilà, l'intégration est terminée ! 🎉
Veuillez noter que certains passages ne sont plus à jour et seront bientôt mis à niveau.